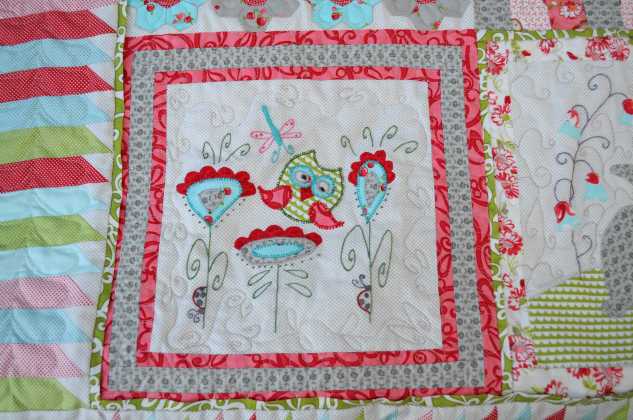
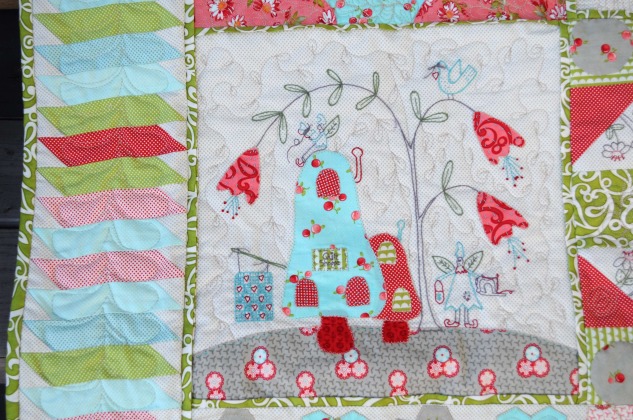
Finishing Quilt Aid Top
Nov-2011
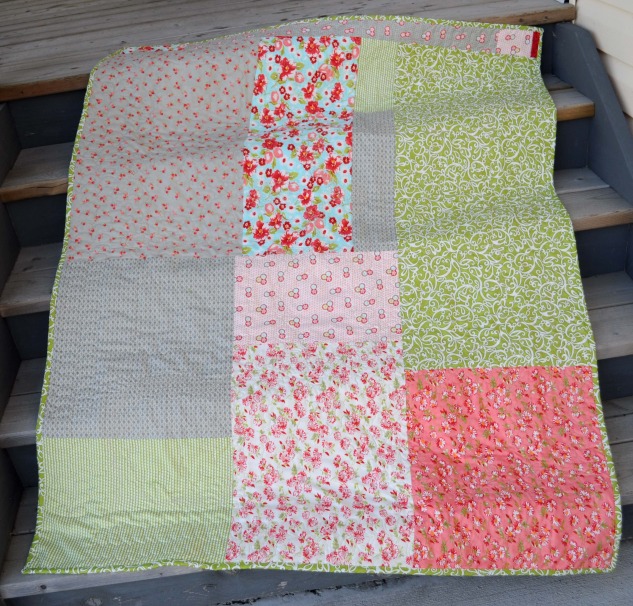
Hi all for those of you who choose to use my finishing top kit either option top only or top with backing fabric, you will not be dissapointed as it’s truly a super fun way to complete this Quilt Aid kit.
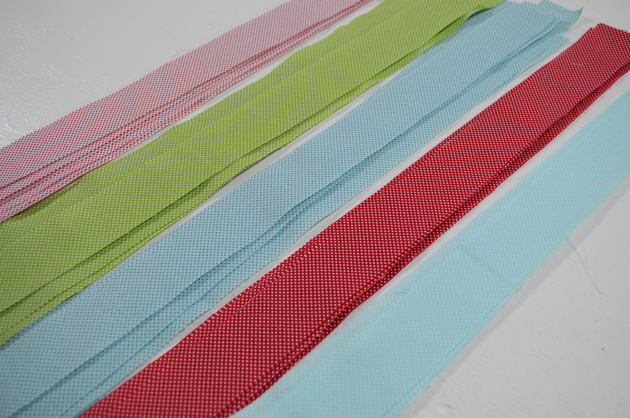
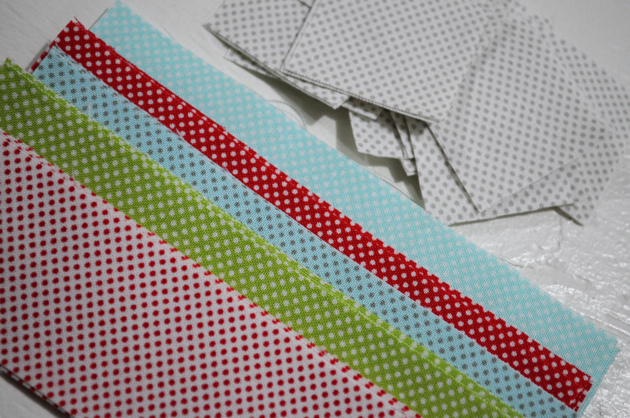
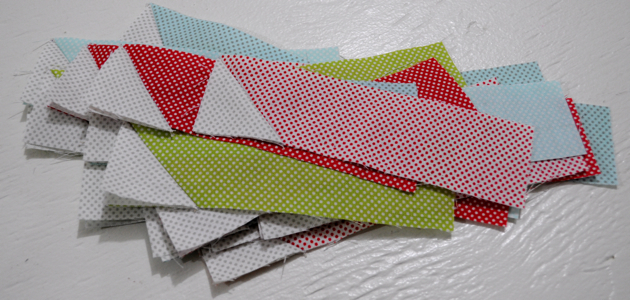
First cut 1.5″x WOF then subcut into 5.5″ sections from all of your 5 polka dots
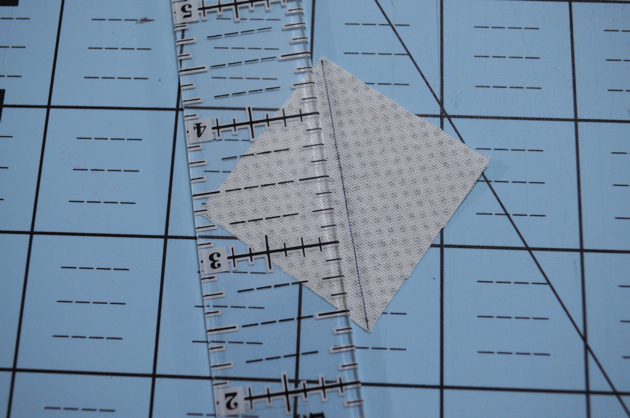
Next, cut 1.5″ squares from your background cream w/grey dot fabrics, these will be you connecting corners
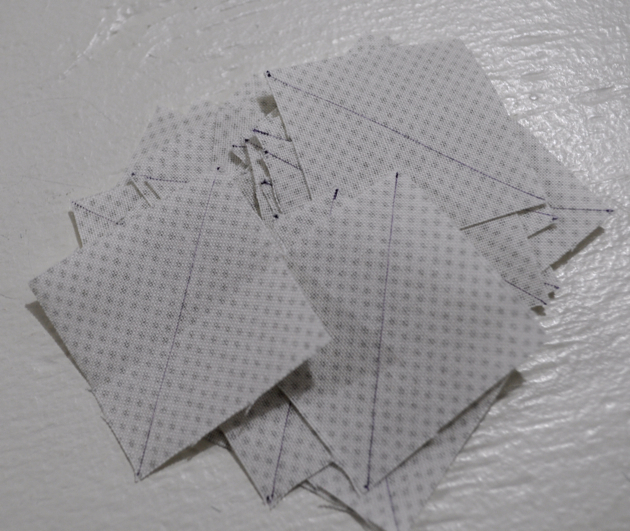
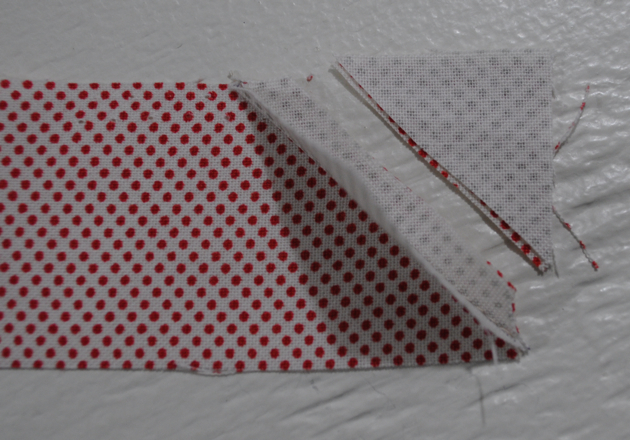
Next, draw a diagonal line on all connecting corners so you know where to sew. Note: I did this in sections, did a bunch of cutting for the fence posts, then I marked a bunch of connector corners, then I sewed a bunch, then started all over – just to keep things exciting!
Next, add your connector corners to each side of your rectangles, or fence posts – in the same direction

You can sew one side, then the other, or sew both sides at the same time, whatever groove you get into.
Next, remove the bulk on both sides
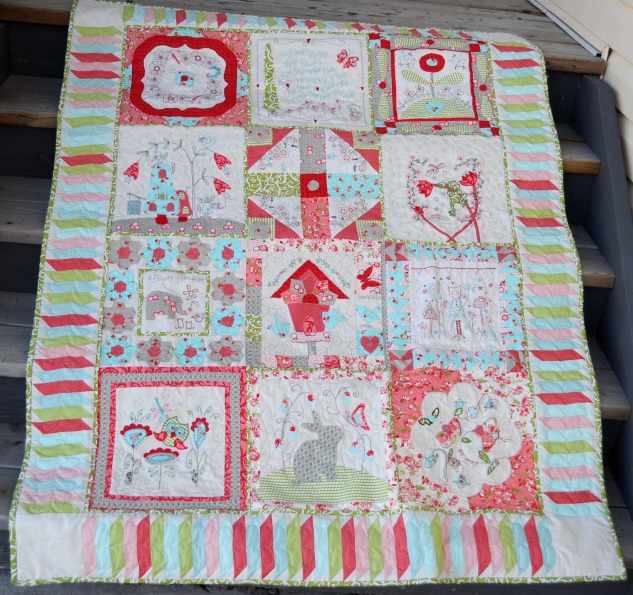
Then, you’ll sew 12 of your border sections to one of your quilt blocks. Pay close attention to seam allowance, you’ll want to use a true 1/4″ seam allowance so your twelve blocks fit against the one block, perfectly.
Here’s the top taken on my fence – wanted good lighting and I’m loving the results, needs a good press 🙂

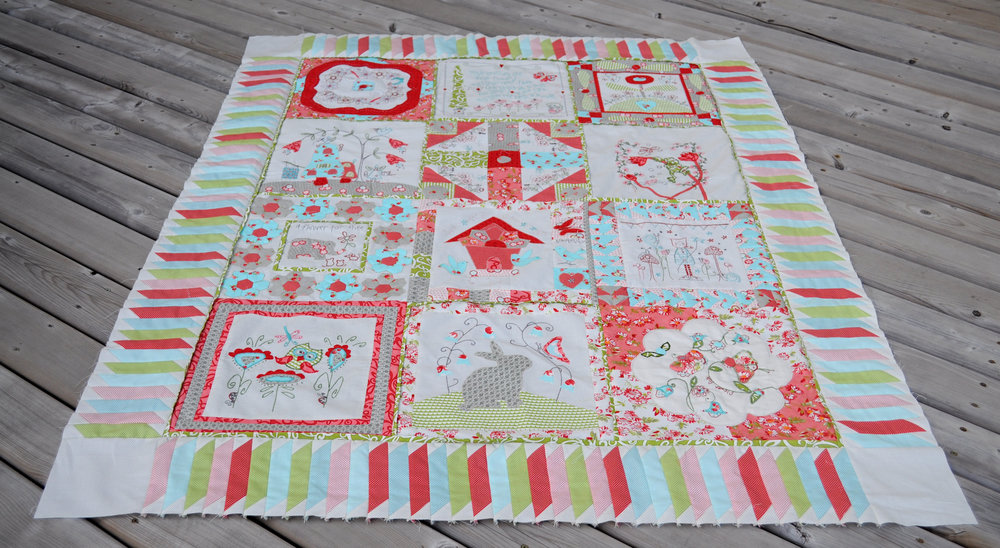
It’s all been quilted now, just need to finish the binding so stay tuned for more pictures to come!
Looking at the white light falling down particles, those Russian players are confused, because according to the normal situation, these north face jackets clearance things fall into who is who, who will be blessed, then there will be a small amount to enhance their own property, but now these light particles fall locations are the results after the head is crazy.