Top Finished, Prepping and Finishing Kits
Nov-2010
Hi Everyone, how’s everyone doing with their blocks? Any questions or help needed? Needle little inspiration or motivation? Maybe I can help 🙂
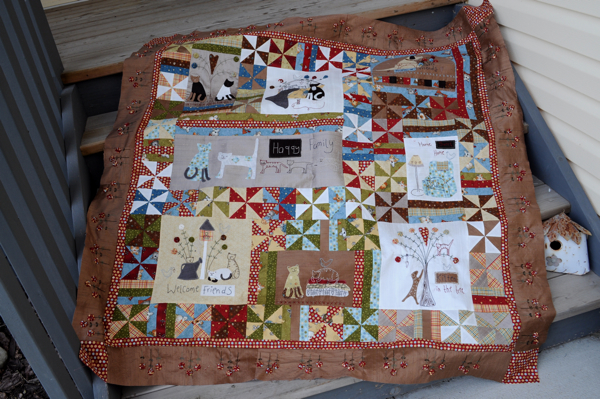
Here’s a picture of Lynette’s Finished Top – stunning..I think so 🙂

Ta-Da…I finished my top last night at about 11:30pm yawn, but man was it worth it!!
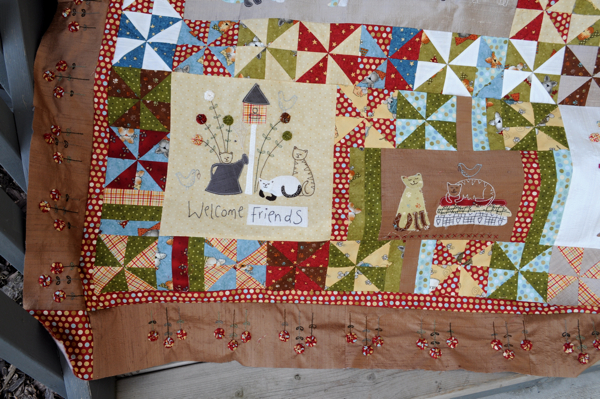
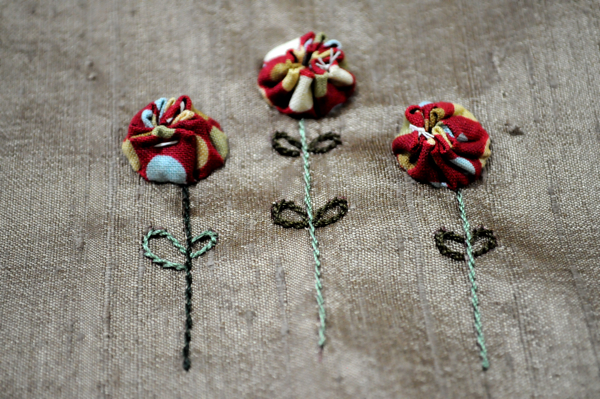
some close ups =^..^= (does this look like a cats face, I saw this on a blog recently – if i’ve imitated it right) super cute hey?
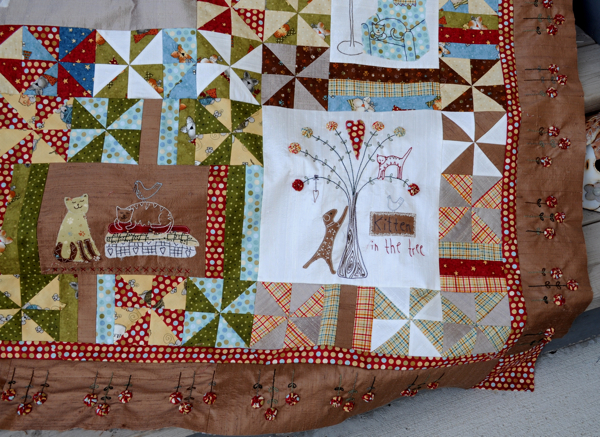
another super cute corner
Quite a different look then Lynette’s isn’t it amazing what a few gorgeous silks and a fabric line called Feline FriendShip can do?
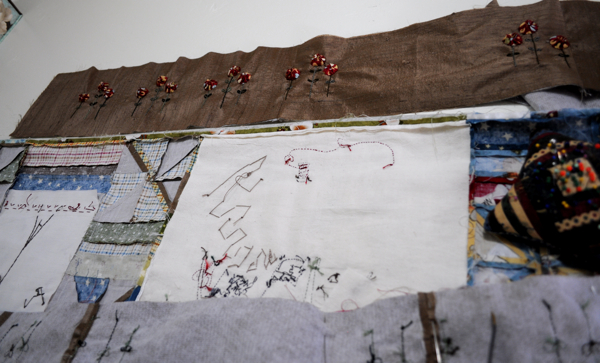
So you see how she put the hearts and cats between the flowers on the borders, I like just the yo-yos..you of course can add or not add whatever you like.
In your finishing kits, I’ve included enough cotton if you wanted to add the hearts, a bundle of 10 silk flosses for you to do your border stitching in..all shades of green for the stems and leaves.
I thought once we put the effort into this border (since we’ve spent approx 10+ hours on each block) this would be perfect to end the quilt with no need for another pieced border…thoughts?
**********
Prepping your quilt, measuring for dimensions, and doing your borders
**measuring the top in 3 places: 6″ down from the top, middle and 6″ up from the bottom take average
and then the same 3 places sideways – get your average and this is your quilt top size. I’ve noted mine at the 45.5″ but yours might be 45 or 46″ the purpose of this part is to keep your top square all of these different steps.
Inner borders are pretty straight forward. Cut 2 – 45.5″ x 1.5″ and 2 – 47.5″ x 1.5″, connect at 45 degrees, cut to the correct length and sew on 🙂
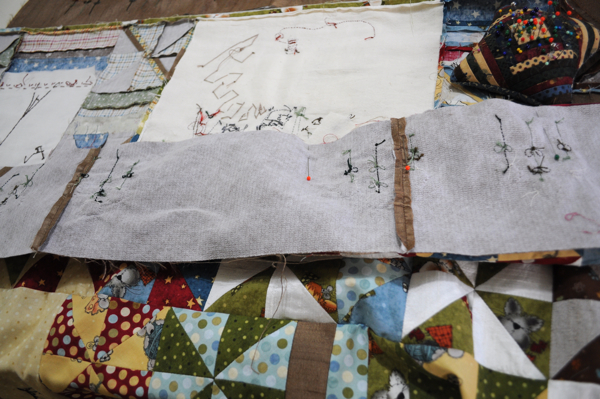
Once you cut your outer borders 51/2″ by 27″ you will need 2 for each side, piece together square, straight up and down. Transfer your stitchery designs onto your border. 2 of these borders will have your cotton corners stones, remember.
Please note this if you have a light box to do your transferring I found it easier to see through the tan with my overhead lights being off (funny how you discover these little tricks at the end of a project) the lightbox and the stitchery lines show up so much better.
You can fit your 51/2″ border fabric inside her drawn lines on the pattern perfectly so make sure you are nice and straight while copying. I used a super thin sharpy marker to copy the stitchery design through onto the back of the paper for the opposite side. If you do what I’ve done, the stitchery designs are spaced all the same, which worked out really well for keeping things straight.
I worked on some of my yo-yos, stitching, switching between both so as I wouldn’t get board. I used a double thread to make the yo-yos and a single thread to applique them onto the silk.
After you’re done, trim 1/2″ off the bottom (or side where the base of your stitching finishes) which will be against the main quilt body. AND 1/2″ off the other side – your finished border will be 41/2″ square.
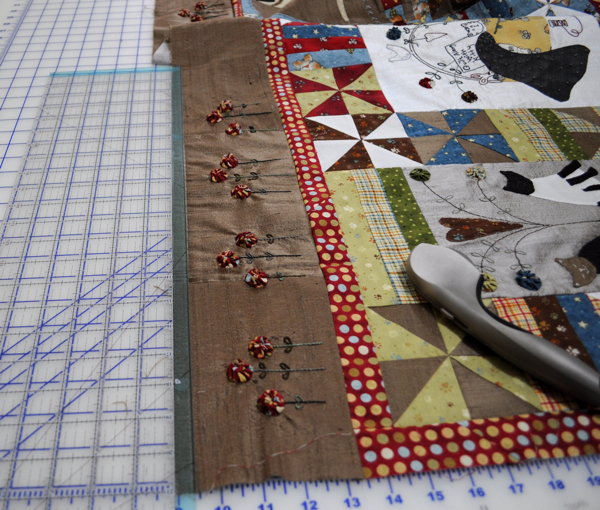
One thing I love about the Gingher Rules is the 1/2″ marking is super easy to see with the light blue shade.
I always like to double check things as I go to see how it will look, this also motivates me to keep going 🙂
Start by pinning these onto your top at end end, then finger press the middle of both your top and the border so you know the exact center, this will keep you quilt top nice and square.
Finishing Colours
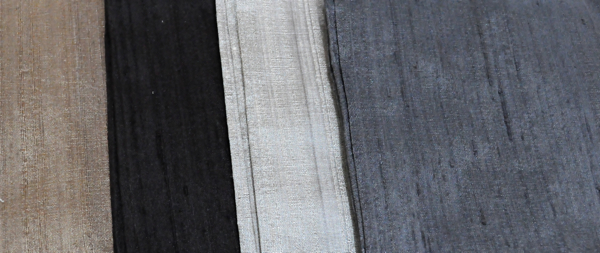
Tan Silk, Brown Silk, Cappuccino Silk, Charcoal you need to be 1 colour which will be 3 silk quarters for your outer border. Remember the Brown and Charcoal will be tricky to see through the light box but to transfer the stitching is pretty simple if you were to do it free hand.
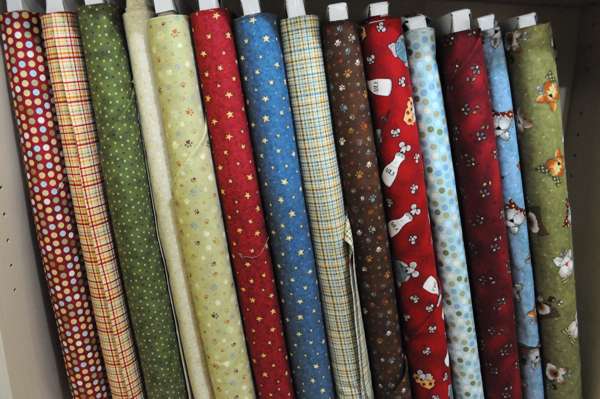
Left to Right
Red Dots
Red Plaid
Green Dots
Cream Dots
Green Paw
Red Stars
Blue Stars
Blue Plaid
Brown Paw
Red Mice
Blue Dots
Red Flower
Blue Cats
Green Cats
You can choose fabric for the back as a separate colour from your front options.
You front cotton will be for
Zinger border
all the yo-yos
corners stones
binding
Hope this helps get your creative juices flowing…
email me Valerie@pastimesonline.ca or leave a comment here with your choices. I would like to ship these out Dec 1st or sooner if you like.
Have a great weekend everyone.
Hi Valerie, lovely choices. I'm going to go for the cappucino silk and the red mice….I like how those sit side by side.
As I'm quite far behind I don't have a clue how much silk floss is needed to do all the embroidery, did you by any chance keep track of how many of each colour was used? Thanks bunches, Viv
Oh Val, I forgot about the backing, can I get the blue cats please for the backing? Thanks.
Yay, my fabric came. Valerie, will these instructions be available for a while? It make take a couple of months for me to catch up. Thanks.
Hey Vivian, yes these will be up for quite a while so not too worry 🙂