Journey of a Quilter: Block 9 YAY!!
Oct-2010
Congrats to Karen for winning a 6″ Twist for getting block 8 done in time!! Karen, please email me which color way you would prefer from the pics in Block 8 block entry 🙂
+++++++++++++++++
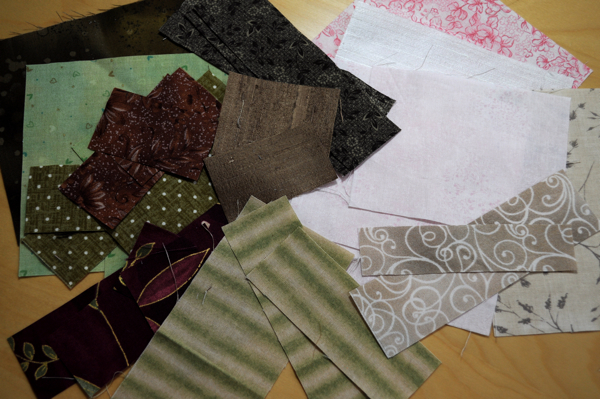
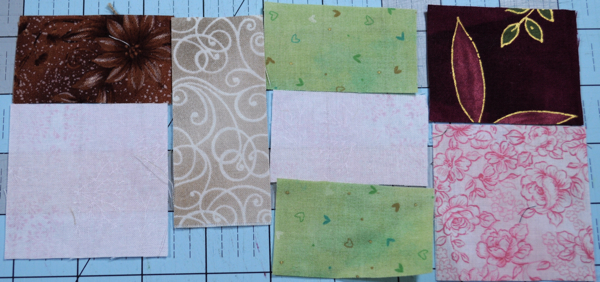
As per all of our other blocks, cut according to colour
Sort according to mini block they belong to
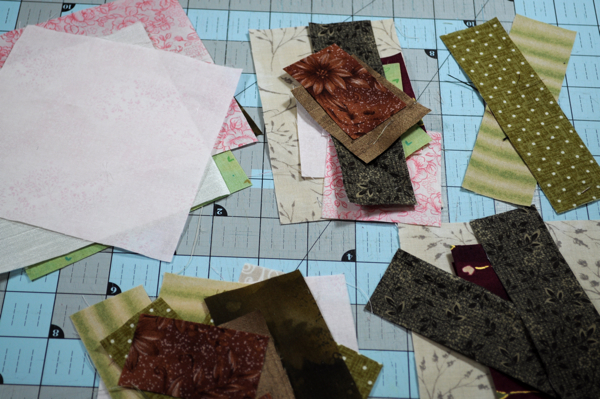
mb1 this block is so cut and we haven’t done this one before, it went together really well
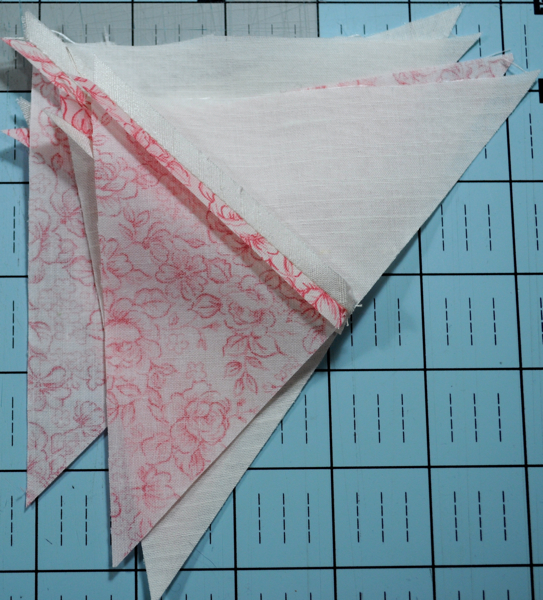
Make sure when sewing your pink and beige triangles together you sew them on the square edge
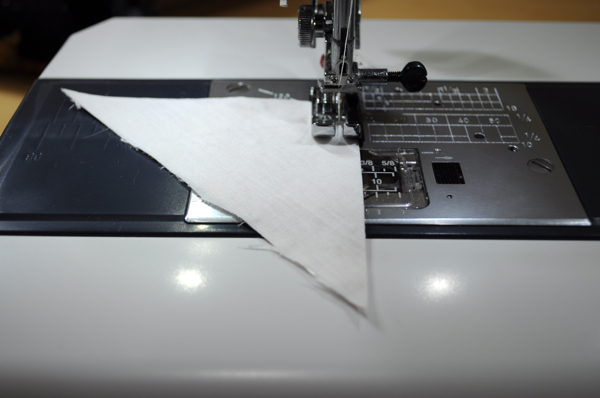
press seams open, handle these carefully as the bias is exposed so it will have some stretch
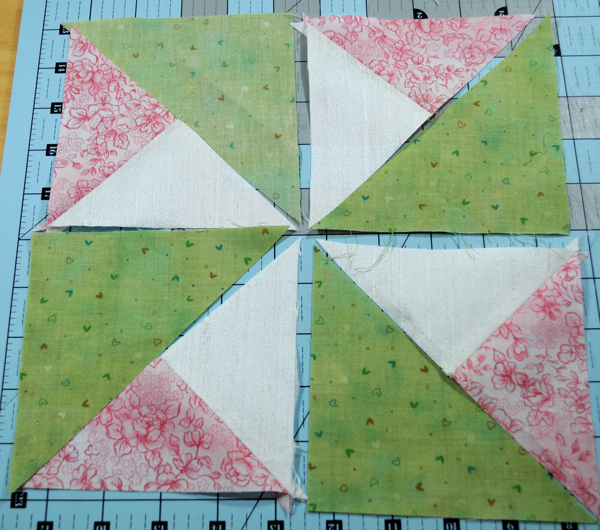
layout and piece in order remember the direction, a good tip: have the green pinwheel blades meet in an opposing direction in the middle
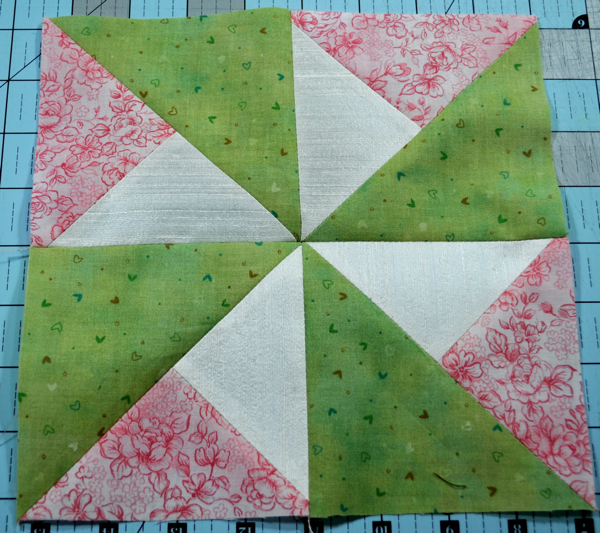
here’s how nice it looks when pressed open, the bulk is minimized
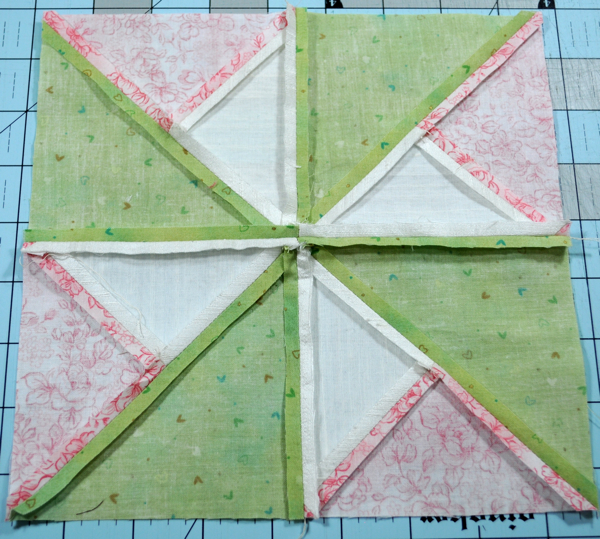
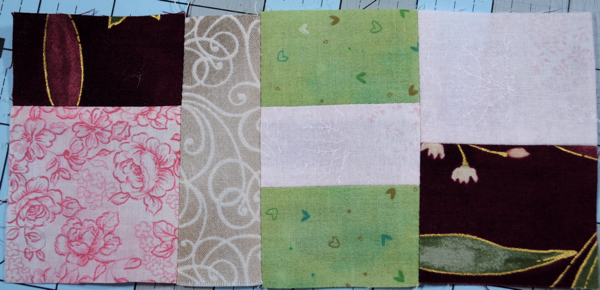
next block
same thing match up your seams in the corners with pins and once sewn, press well with seams open
next block, I sewed this one in many sections, 2 pieces in column 1 then 2 pieces in column 3 and 4, all together with chain piecing then added the rest in these columns, then connected them to the other columns.
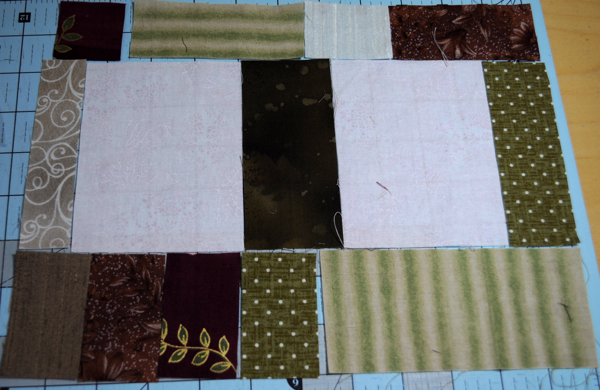
For this block, I did it similar to the one above: I sewed the top row together, then the middle row and then the bottom row. Basically, whatever I could chain piece at one time I did that, then cut the thread pressed and add the next pieces to these ones that are sewn…remember to press in segments, sew a bunch together, then cut thread and press all of these pieces at the same time. This saves time, thread and getting up and down too much from the machine 🙂
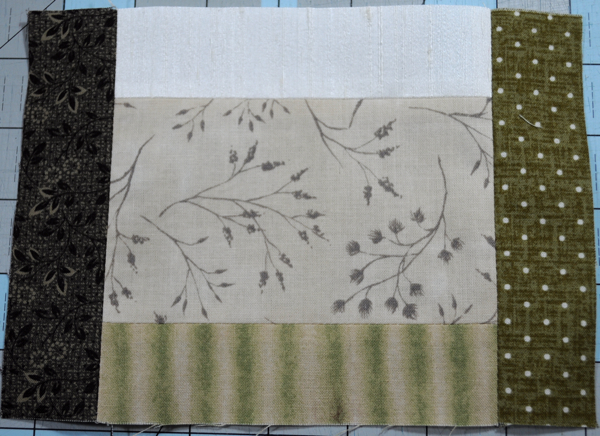
This block is pretty straight forward, sew the corner stones (beige) to the dark pink rectangles, sew the brown to the beige in the middle (row 2) then the last row in the same fashion as the first row. Press, then sew these 3 rows together.
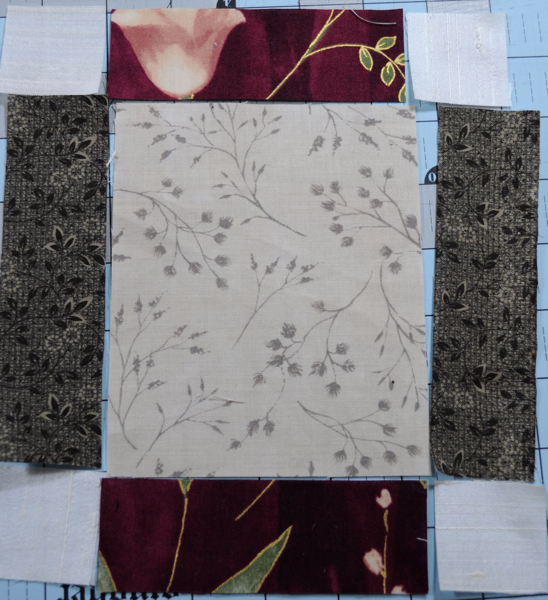
Here’s your final block…sew together carefully, press and mark your stitching. This one I completed the fastest, I don’t know if I was excited because it’s out last block or because I LOVED this block I think the best 🙂

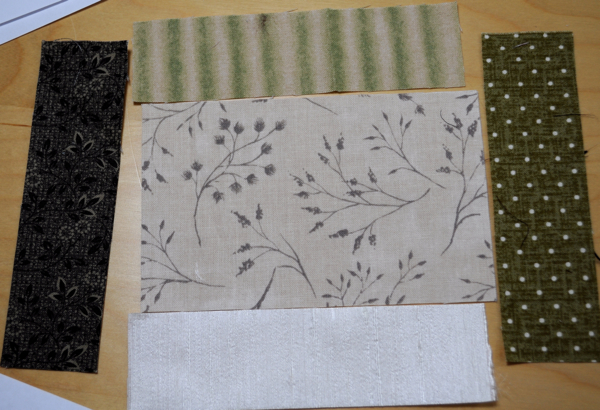
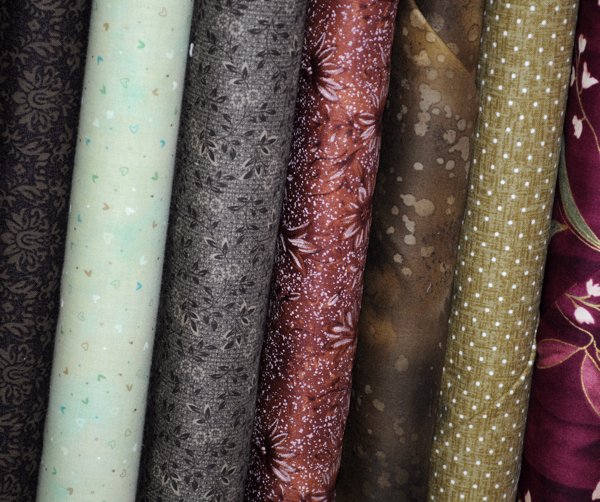
So I’m working on the finishing kits. Here’s the colours available for the backs. Silks of course are also availalble if you wanted to finish the back/binding in the silks.
My plan is to have the border in the dupioni silk, and the backing and binding in the same fabric weather it be dupioni silk or cotton. Please, please, please get back to me as soon as possible for finishing kits as I want to ensure everyone gets what they want.
Ladies, first come first served.
I’m budgeting the finishing kits will be approx $75, plus shipping (3 m for backing and binding, 2 dupioni silk quarters for borders, 1 m of fuse for dupioni silk quarters) This will be for 3″ extra all the way around for personal quilting, if you need this professionally quilted you may need to add more fabric as some long arm quilters like 8″ all the way around. I’ve done some figuring but haven’t tested this amount of fabric yet 🙂 I’m working on it! We can do your finishing kit in all silks also if you want just let me know:)
For mine I think I’m going to use all of the remnants from the top and all of the cutting for mine because I LOVE scrappy backs. I would like to encourage you to do the same. With your scrap pieces from the top make up a square or two or use these for your label and make your label large and cheery with a great story on it. Mine will be a FAB story because I’ve truly been through a journey over these 10+ months…
7 Cottons
Dupioni Silk Quarters: Beige, Light Pink, Dark Pink, Dark Green, Light Green
Any questions please email me. or Post your question or comment here as other people will likely have similar questions.
Thanks Ladies, be back soon 🙂
Valerie
Hi Ladies, okay, I’ve figured out the finishing kits
2 quarters of Dupioni Silks – you need to tell me what colour, beige, light pink, dark pink, light green, dark green, medium brown, dark brown,
1 meter of the fuse for the back
2.5 m of cotton for backing, binding and hanging sleeve…
Total price for finishing kit is $75 plus shipping.
I hope to work on mine tomorrow, I’ll shoot a video or two to help with explanations…please let me know your colours as they are first come first served 🙂
Cutting Changes brought to my attention
6×5 piece you will need to cut an additional 51/2 x 11/2 piece for mb3
Light Green 6×12 piece, you need to cut 2 – 5″ squares for mb1
need to cut 1 extra 21/2 x 11/2 for mb2 – I missed one piece but it our of whatever fabric you love the most that you have left over.
Sorry about that 🙁
Fabrics still available:
2nd, 3rd, 4th, 5th in the pic
Oh what a difficult decision to pick out colours for the finishing of the quilt!
I may choose the green and white polka dot for the backing or the dark burgundy print beside it.
I am not sure which silk to choose the the borders maybe a dark pink/burgundy or a green or maybe the dark pink on the top and bottom and a green on the sides.
I would like to see what you choose before I make up my mind.
Thanks, Karen
Hi Karen, the green with white polka-dot seems to be a good pic. Hmm I think the back of mine will be pieced with all of the scraps from the front that I have left over…for the borders though I'm thinking more on the dark side for the silk, dark green or dark brown or something like this.
I did a couple of videos today that will be posted soon showing how to prep your blocks for finishing so keep your eyes open for this…
I'll be in touch!
Valerie
Hey Val. I would like to use the dark brown fabric on the far left for my backing fabric please.
Was also wondering if I could use the dark brown silk for my borders, did not notice it listed as one of the choices?
If not then I will go with the dark green silk for the border as my second choice.
Thanks Shannon 😉