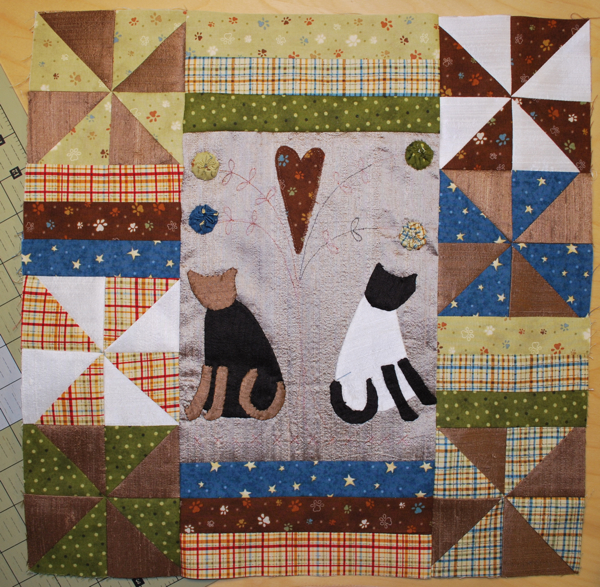
A Kittens Tale Block One (entry 1)
Mar-2010
Hi Everyone and welcome to A Kittens Tale by Lynette Anderson. I love this cute little project combining applique, patchwork and embroidery. I’m introducing a new line of silk embroidery floss for you all to try. I love this floss it’s amazing to work with.

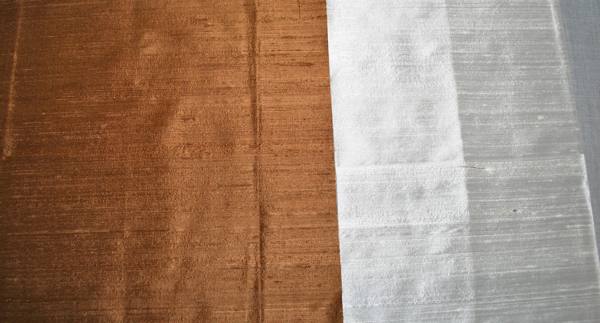
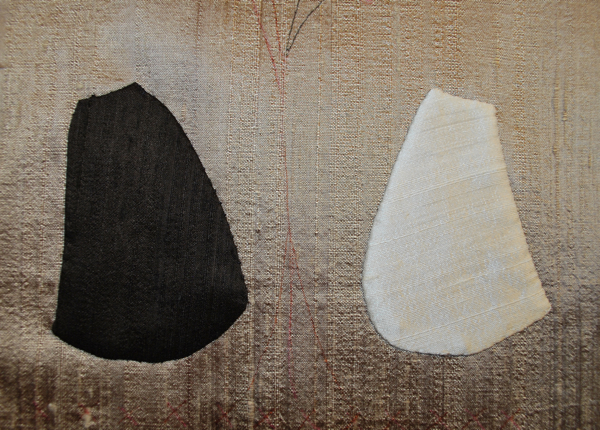
here’s our fabrics
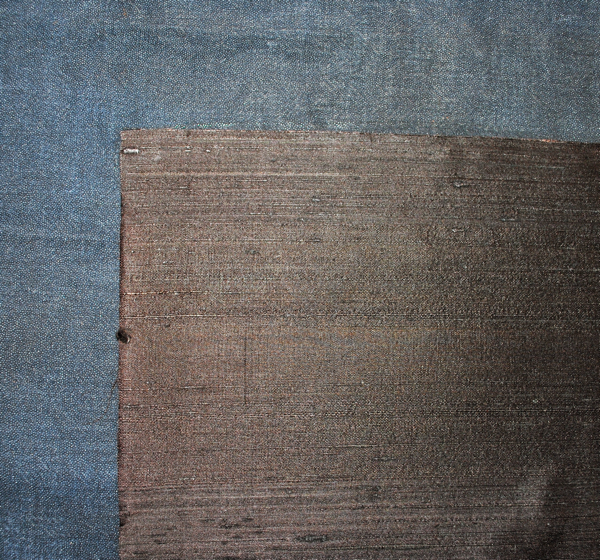
Prepare your silks, you may have both the off-white and the black interfacing or you may just have one colour
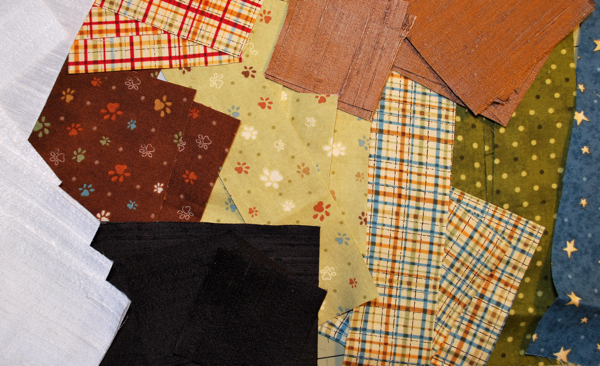
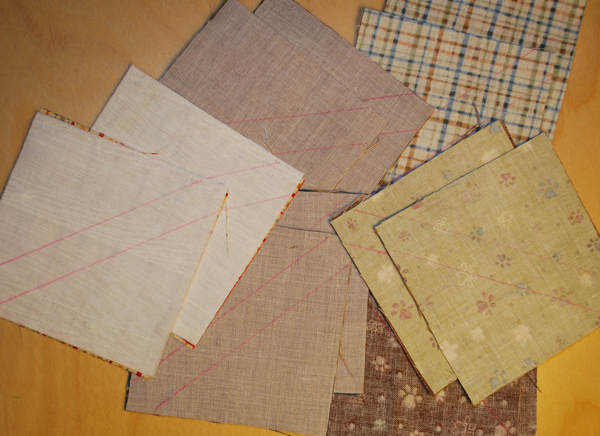
get your fabrics cut and piled
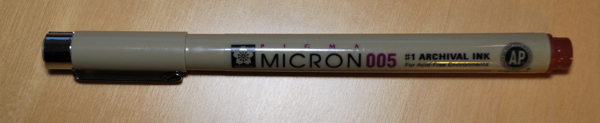
best pen for marking your stitchery designs with either the 005 size or the 05 size, Martha Stewart also carry’s a line of this style of pen that would be great too 🙂
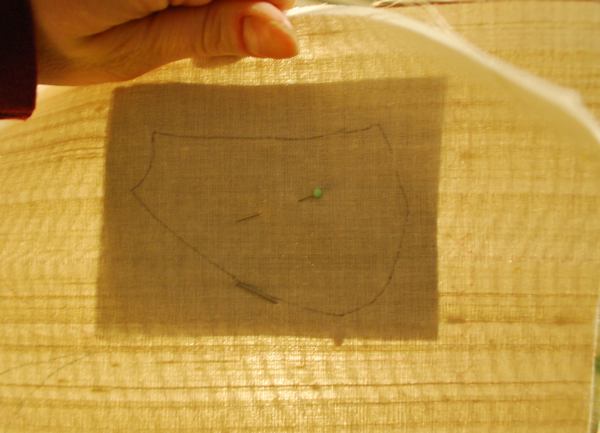
Stitchery block, make sure to trace your designs first, if you don’t have a light box to do this tape your stitchery design sheet to your window during the day and trace it then. Or you can put a light source under the plexi extension table for your machine, I hear this works great also. The silk is a little dense to see through especially with the fuse on the back, you may want to invest in a light box, well worth it.

Freezer Paper you can buy at most grocery stores, its under $10 for this roll and I’ve had this for 7 years or so lol, make the investment it will be worth it 🙂
+++++++++
For this first entry, I will show you 3 different applique techniques for you to try and for you to decide which one you think you will like the best.
First one: Freezer Paper, needle turn method
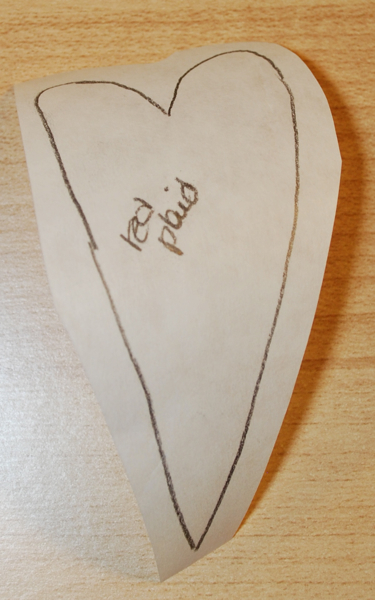
trace all of your patterns pieces onto freezer paper
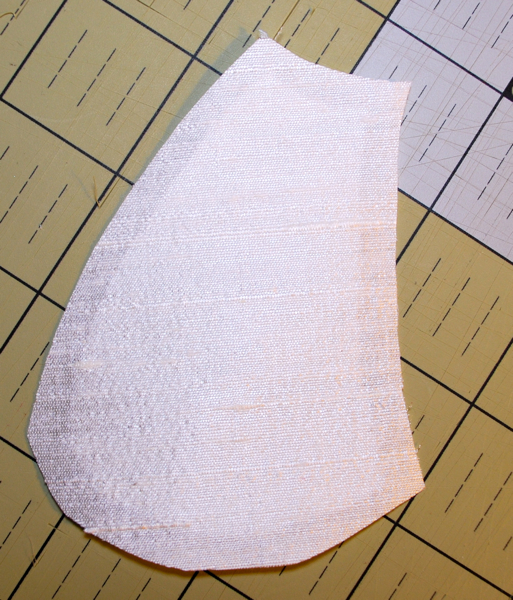
cut them out exactly to shape, shiny side against the wrong side of your fabric (in this case the silk is the same both sides) press with dry, hot iron, leaving approx 1/4″ or more to needle turn under
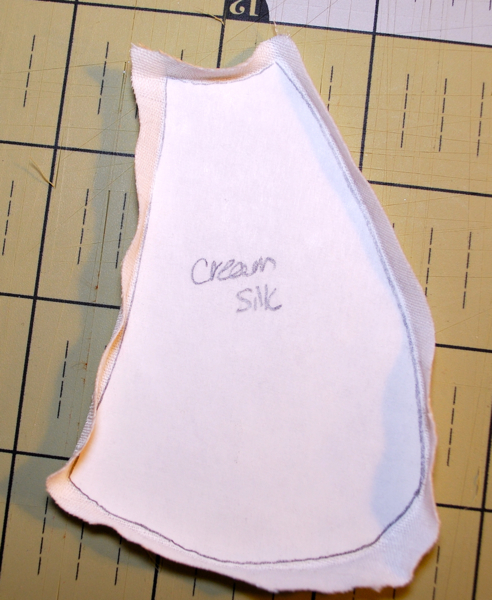
press this seam allowance in toward your shape, as you can see I also marked my pieces according to the colour of fabric they will be, remove freezer paper before the next step so make sure you press really well and have good lines to follow
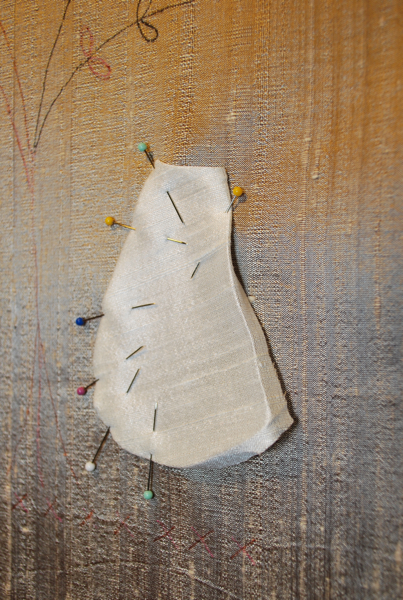
turn edges under, pin in place according to diagram in your pattern for placement
take a very small slip stitch (a little bit of background and a little bit of the applique piece), continue needle turning your fabric and stitching in place.
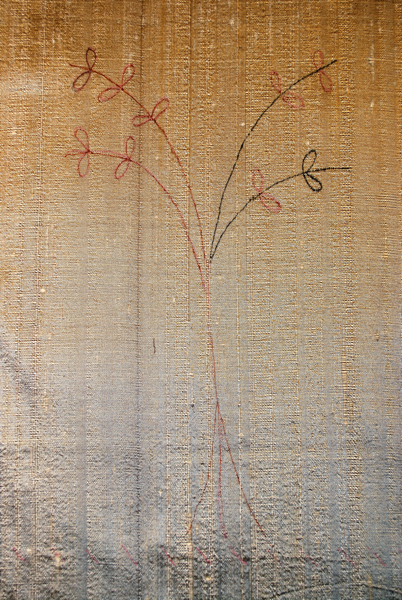
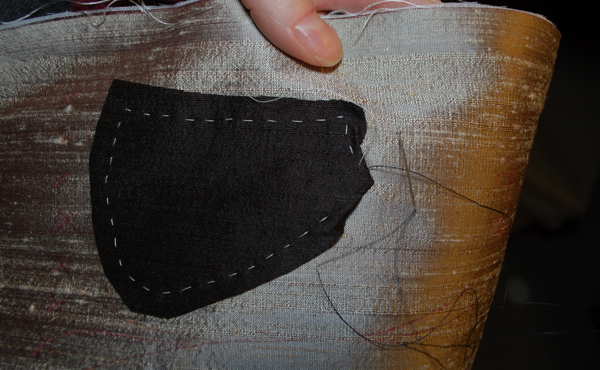
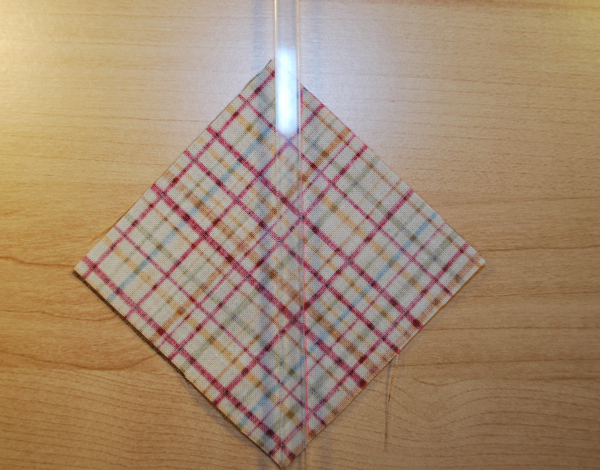
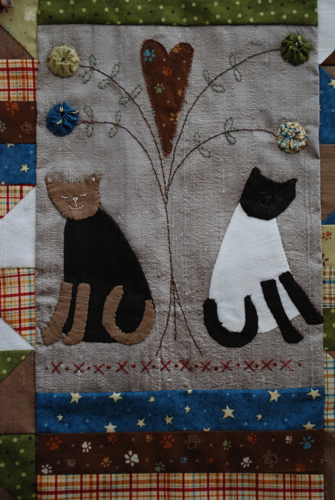
first kitty body finished
+++++++++
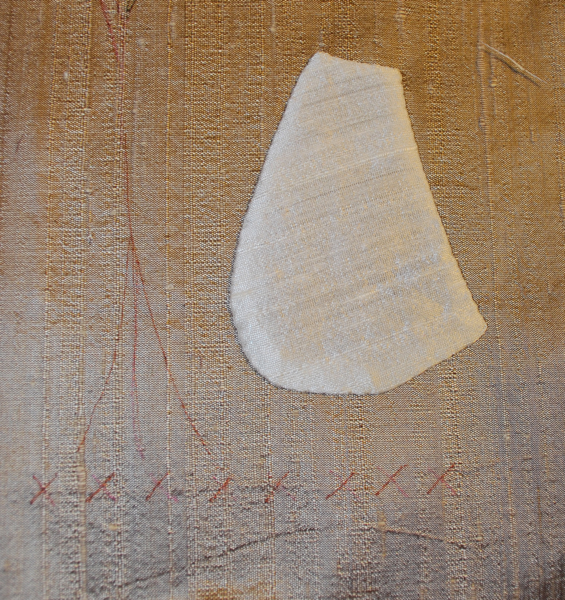
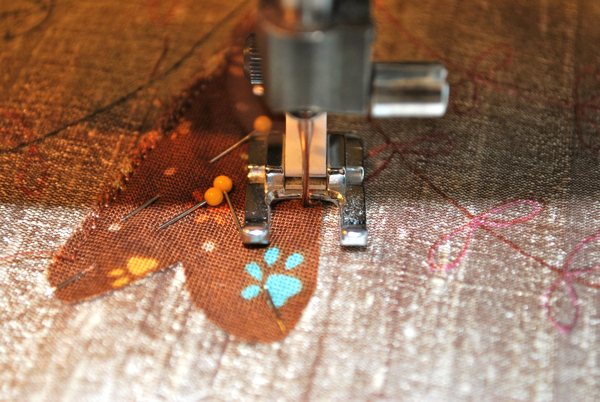
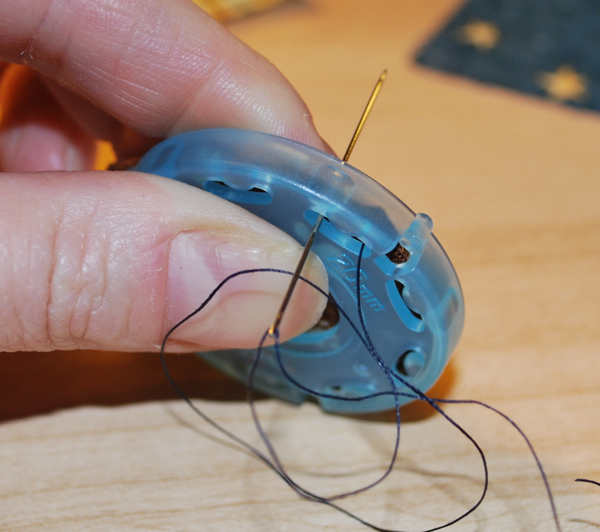
The next applique method I’m going to show you is totally different see this tutorial for more details
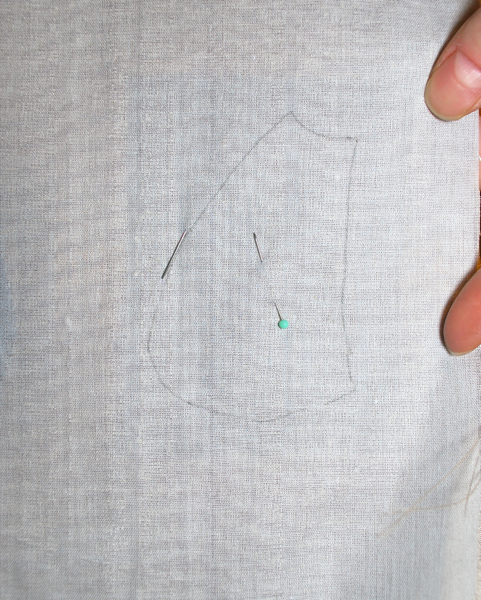
trace your second cat design onto the back, make sure it’s in the right placement according to your pattern.
take the fabric piece for the other kitty’s body and place it on the FRONT of the background fabric, hold it up to the light to make sure that it fully covers the drawing, pin in place
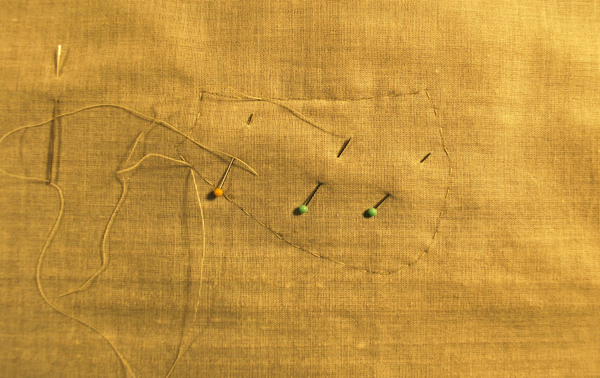 from the wrong side, baste all the way around your drawn line straight through all layers, very long basting stitches, no need to knot the thread,
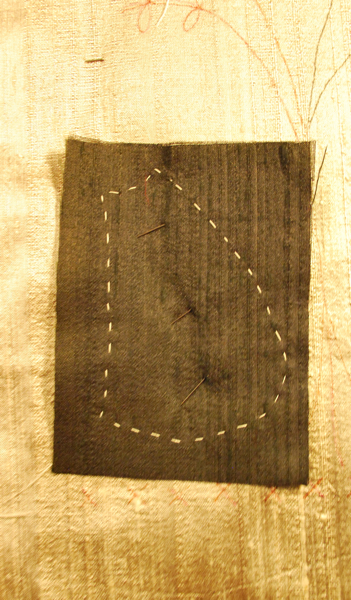
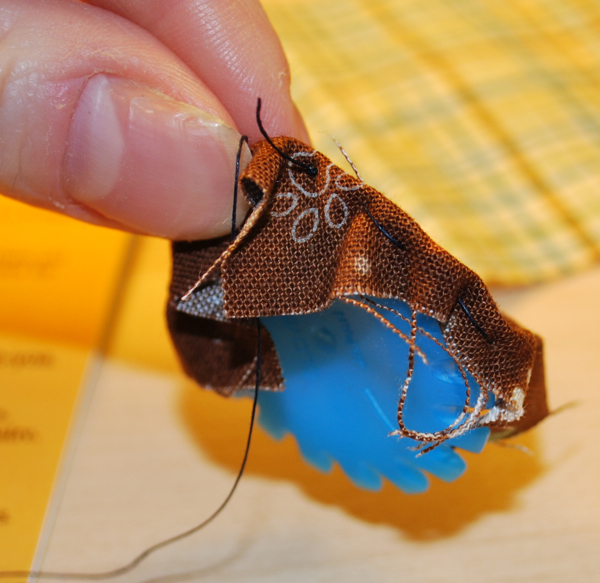
this is what it will look like from the front
now start clipping away the basting thread and needle turning your kitty fabric just to meet up with the thread you are basting, continue all the way around removing the basting thread as you go, continue slip stitching the kitty fabric down as you go
two kitty’s done. What do you think of each of these methods, which one do YOU like better?
++++++++++
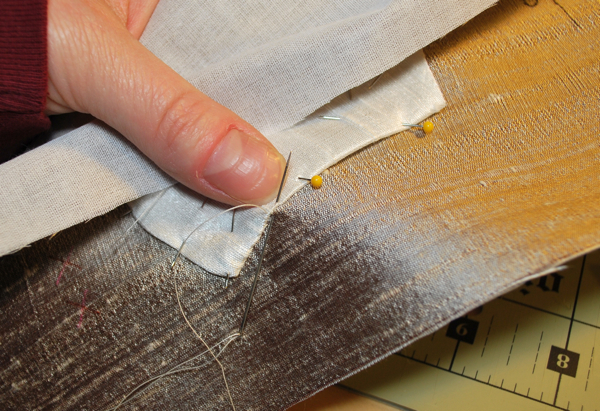
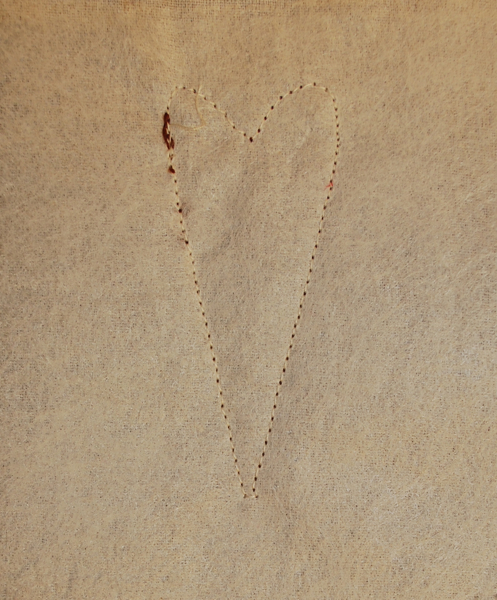
Raw edge applique, this one is fun but kind of a cheating way to do applique as it’s quite fast 🙂 I cut the fabric exactly the same size as the heart template from the freezer paper, removed the freezer paper then pinned the heart in place according to the patten placement
I’m sewing 1/8 + away from edge of heart all the way around, remove pins as you go.

finished heart, as you can see on the right hand side, I sewed a little close to the edge so it’s a bit more frayed, but it still turned out so cute!!
here’s the back, I used two dryer sheets as my tear away, then I just cut it away around the heart to approx 1/2″. Dryer sheets work great for small stitching, they can be ironed, they are a great size and they smell nice

get out your yo-yo makers – how fun are these? Note to self, add yo-yos to the piece after you’ve squared up your block it makes it so much easier 🙂
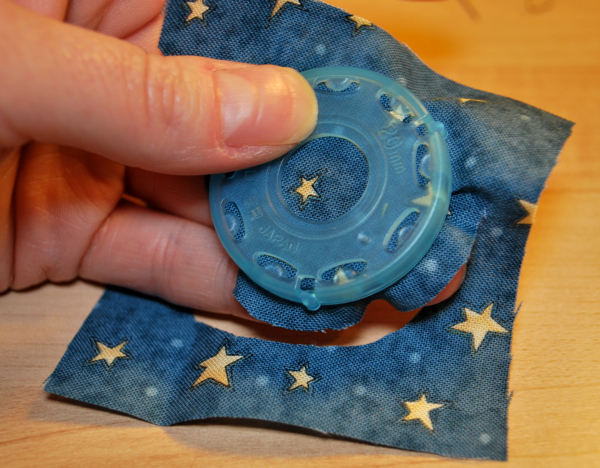
trim off excess from the designated square
sew through the holes following the guides (keep all of the packaging from the yo-yo as the instructions are on the cardboard backing)
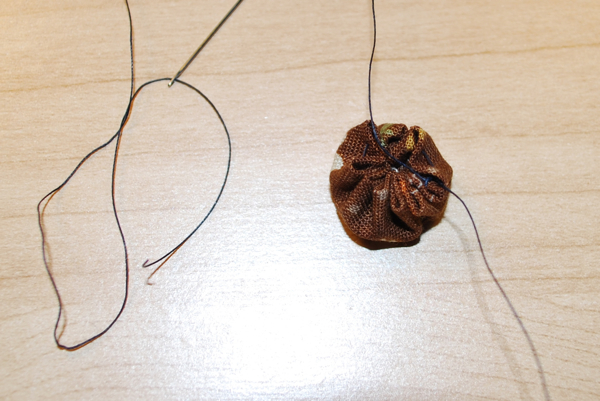
I ended up doing these with a double strand of floss just so you have something more substantial to pull when tightening.
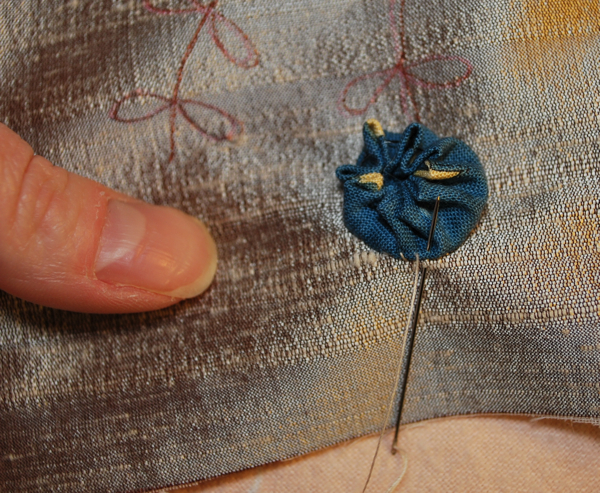
slip stitch in place but remember to do this after you’ve squared up your background.
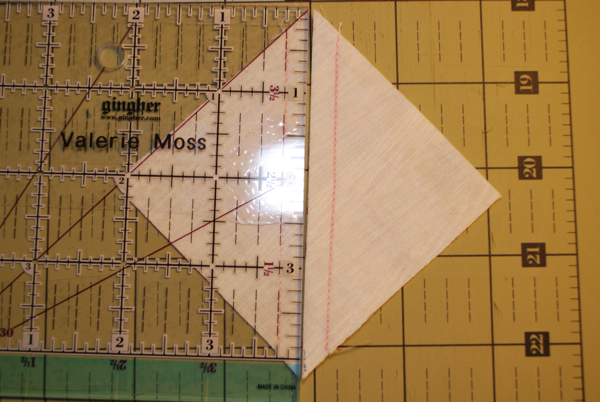
mark line 1/4″ on either side of the center diagonal points. I’ve used a 1/4″ plexi square ruler it works great because it’s c-through.
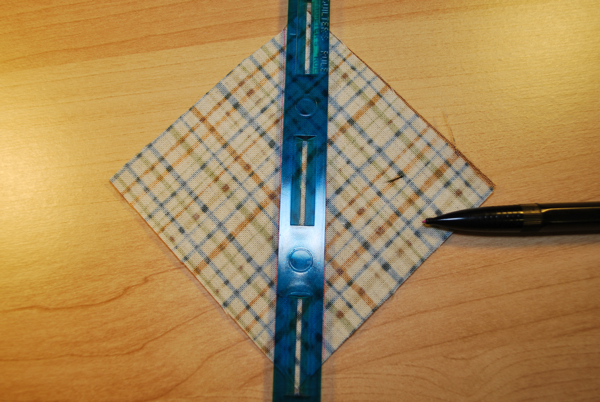
I’ve also used a 1/4″ marking ruler which does the same thing but in one step, you line your points up with in the middle of the opening.
You can mark your squares with a coloured pencil, I’ve used pink Clover lead but you could also use your miron pigma pen or a regular pencil, nice fine but noticeable line.
after you’ve marked them all, layer them according to one light and one dark fabric so you get good contrast for your pinwheel blocks
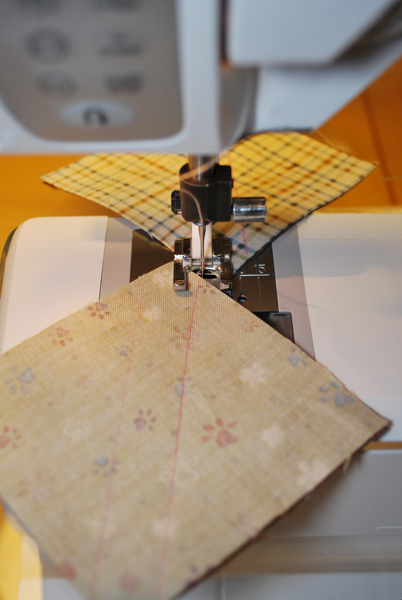
chain piece these one after another, it goes much faster, make sure you sew exactly on your line
cut apart on diagonal
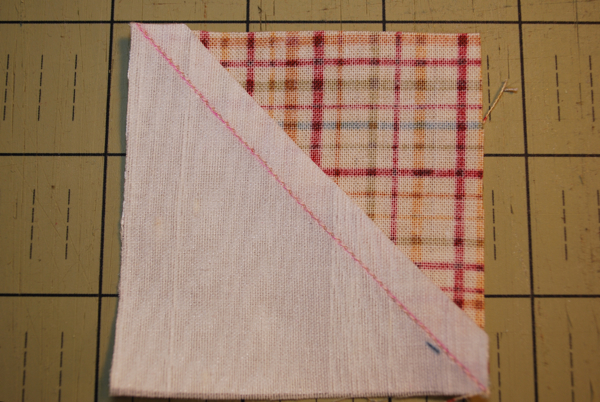
press open and seam allowance to the dark fabric, square up your block to 2.5″ the pattern says that your pinwheels should be 2 7/8″ but I’ve allocated 3″ so you will need to square up your half square triangles.
when sewing your half square triangles, nest your seams, since you will be pressing the seam allowance to the dark fabric, all of your seams should nest with no problem
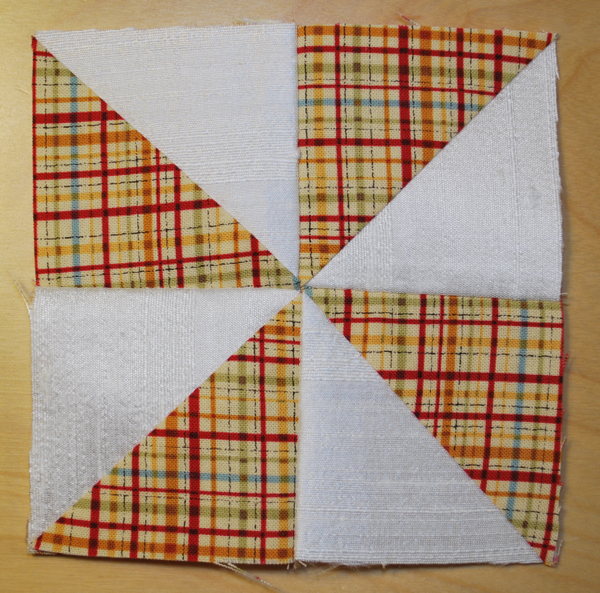
finished pinwheel block
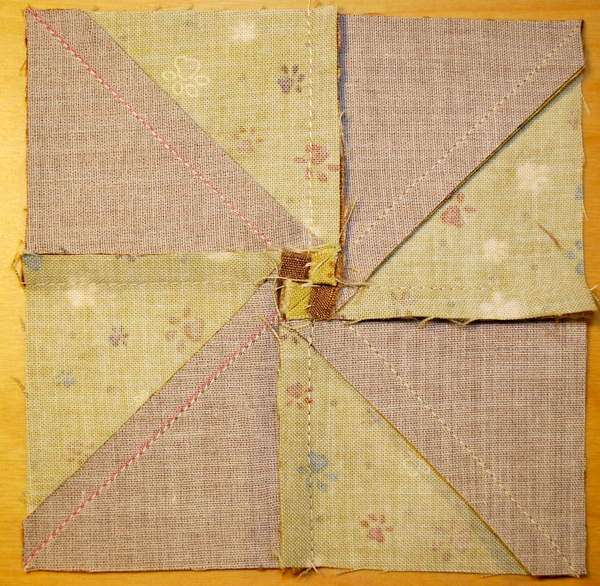
here’s the back, as you can see where the seams meet in the middle, play with the fabric spreading it open slightly and you will create the cutest tiniest 4 patch, this marks the best gauge of a correct sewing job!!
Each pinwheel block will measure 4 1/2″ square (before sewing it to anything else, unfinished)
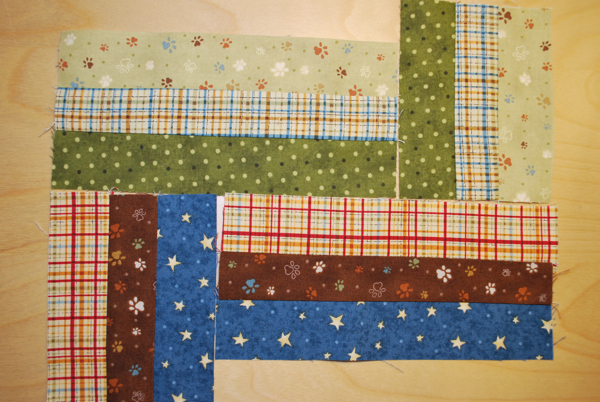
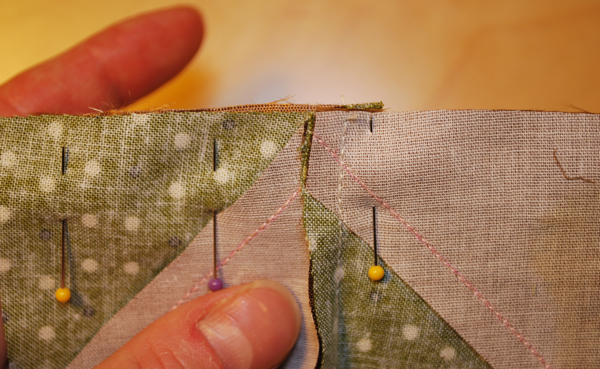
get your rail fence blocks sewn together, be careful when pressing as you can distort the seam and the lines will look wavy
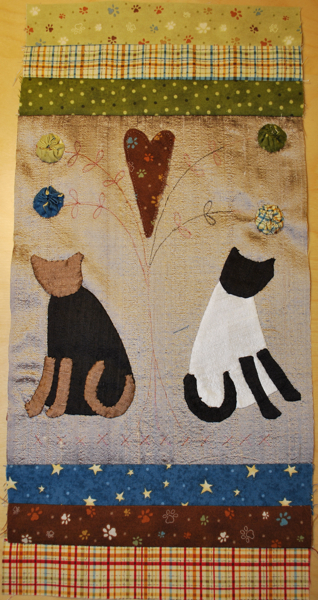
square up your stitchery block by taking a little bit off all sides instead of one big chunk off one side making sure to keep it as centered as possible, then start adding your borders
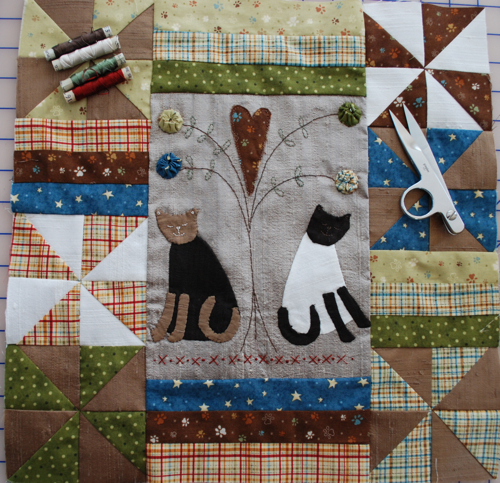
get our your floss, a good sharp pair of scissors and site with a cup of tea and work on your embroidery
And you are done with block one, YAY!!
Send me your finished blocks so we can post these for everyone to see 🙂
To have a monthly draw, we would need to have a min of 30 full kit members, so far we are at about a dozen, sooo get your friends together and join up, we would love to have a prize each month!!!
Update:
Following up to my email, I’ve check with a few people that they have the green dot so I’m thinking that is was just the one lady who was missed. The Cappuccino I’ve mailed out an additional piece along with interfacing for all of you…sorry about this.
Valerie
Hi Ladies, how is everyone doing with your Kittens Tale Blocks…having any trouble? How’s the applique coming along? Any questions?
I’ve received one block photo from Kathy:

here’s Candace’s block 1
Love the whiskers 🙂

Vivian’s Block 1

Heather D’s second attempt at block one, she wasn’t happy with her first one so, she did it again and now she’s pleased, nice job Heather!!

Hi there! I received my package today and everything is just beautiful. I can’t wait to sit down and get organized…4 day weekend coming up!
Question!!! If I choose to use a stabilizer instead of batting, do I put the stabilizer only on the block with the stitching? I surrounding mini-blocks can be stabilizer free?
On the other BOM I chose to use quilting batting covering the entire block and I would like to try something different this time.
Thanks!
Hi Vivian, thanks for your comment, you do not have to use batting for this one as there is so much less embroidery and applique comparative to the JOQ. That being said, I back just the stitchery area in muslin so my applique and embroidery has some substance to grab onto…good questions!!
Thanks also for signing up for the newsletter – did you receive it?
Happy Easter Everyone, please comment here often with any questions or words of wisdom or whatever your little hearts desire as I check in often!!
Valerie
Great job Kathy.
I am still doing the applique on the 2nd cat’s legs and tale and then I have the yo-yos to do. I’m a raw edge applique girl, love doing that. I’m finding the silk hard to turn for the needle turn technique but I’m still new to the needle turned applique so it’ll probably become easier with time.
Hi Vivian, it’s a bit tricky with the silks and the fuse for the needle turn method,,,if you feel completely set on the needle turn try it without the fuse on the back the silk becomes so much more pliable, I would recommend a larger seam allowance because the fraying begins 🙂