Pies and Tarts – Month Two
Feb-2011
**NOTE: has anyone had trouble getting all of the pies and tart slices out of the fabrics provided? I had one lady contact me with this concern, she was short just a couple of tarts, just checking if anyone else ran into the same challenge? Thanks for your feedback!**
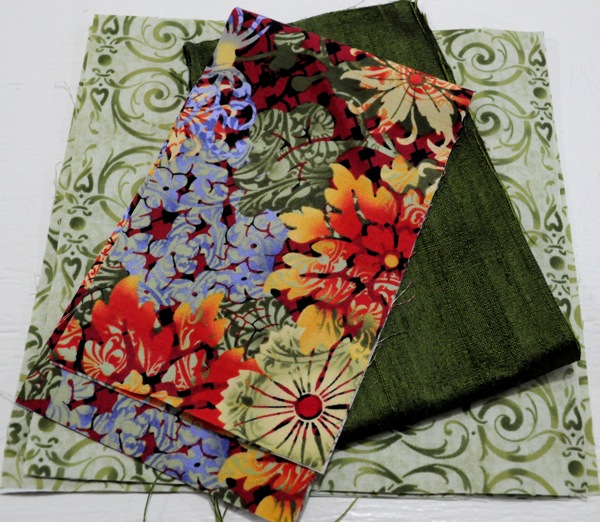
Okay for month 2, I’ve changed it slightly from the picture for your packages…you get what’s shown as well as a red solid fabric in combination with the red with flowers fabric. Remember you’ll use the card templates this month also – 2 months.
Cutting Instructions:
Green Silk – full quarters for all of the pie and tart slices
3 – 4″ x 27″ strips for Pie Slices
2 – 3″ x 27″ strips for Tart Slices
7″ x WOF Red Flowers:
1 – 4″ x WOF for Pie Slices
2 – 3″ x WOF strip for Tart Slices
4.5″ x WOF Red Solid:
1 – 4″ x WOF for Pie Slices
Here’s a video that will hopefully help you out some, sorry for the delay on this.
Now that the silks have arrived…yippee…let’s play some more.
Here’s what I’m thinking for our silks and backgrounds
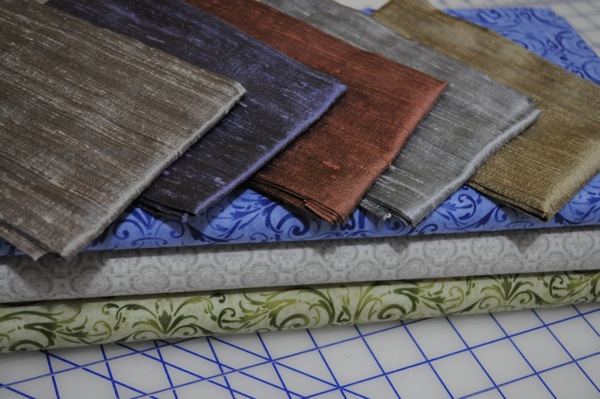
Cut your strips 4″ to accommodate the acrylic template (large) for both the cotton and the silk. Prepare your silk first by ironing it and adding the fuse to the back.
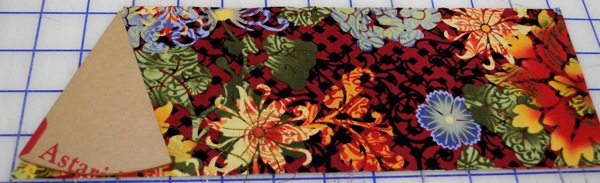
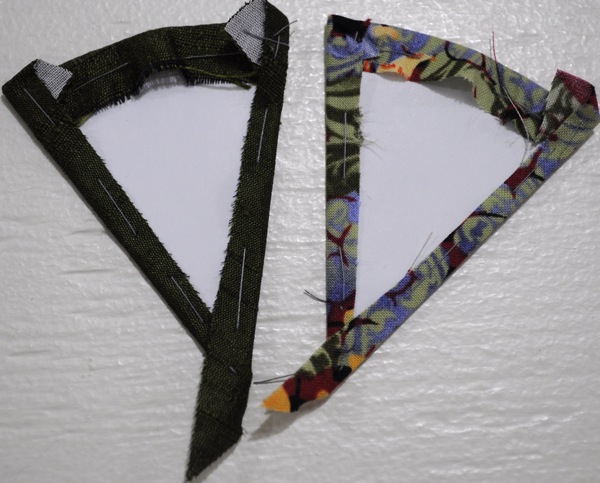
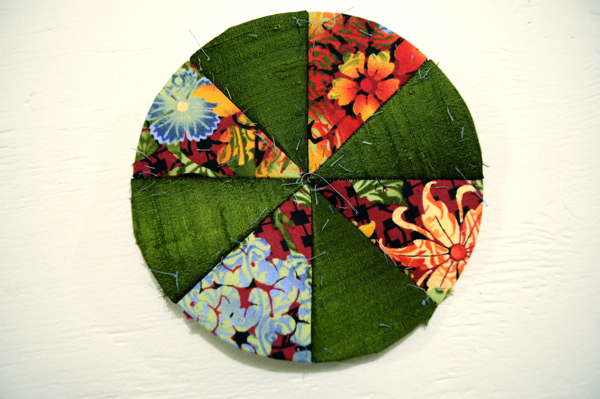
this is the tart template, pretty small hey? As I completed more and more of these I didn’t pin them to the fabrics I just did it freely, holding it centered and in place.
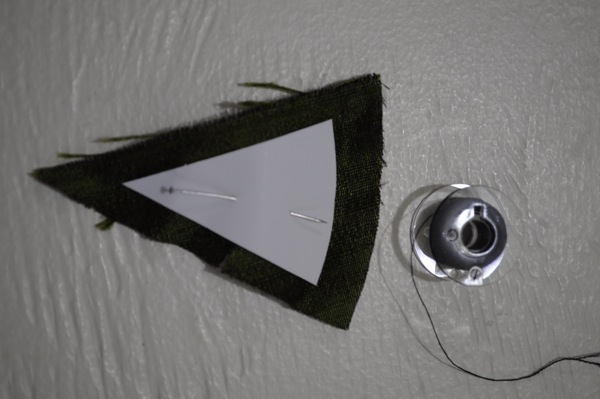
When basting, just stitch large stitches, tucking in the main point towards the middle, the corners can be folded over. there’s no need to end with a knot as long as it’s secure enough to hold the fabric in place for the next step as we’ll be cutting this basting stitch away after.
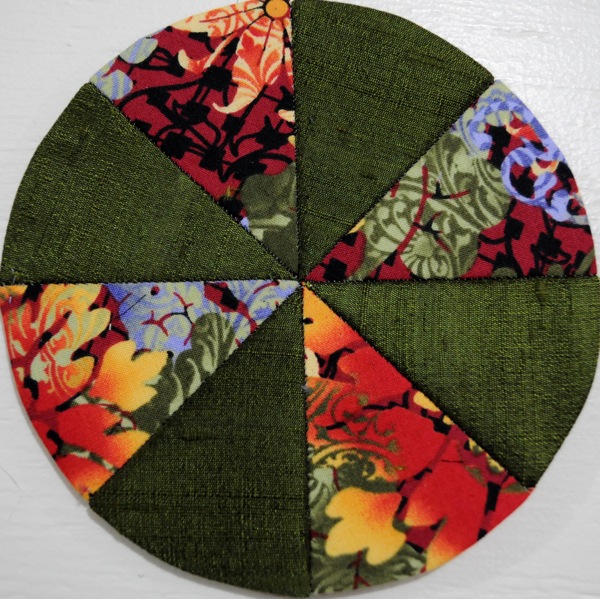
There is some questions about how to get your centers perfect. It’s practice ladies sew don’t be too hard on yourselves:) Try tucking the bottom (center) point fabric in, then try folding it over and completing the block this way and see which way you like the best.
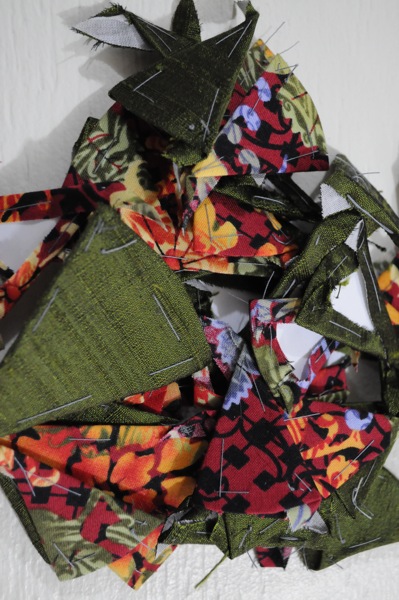
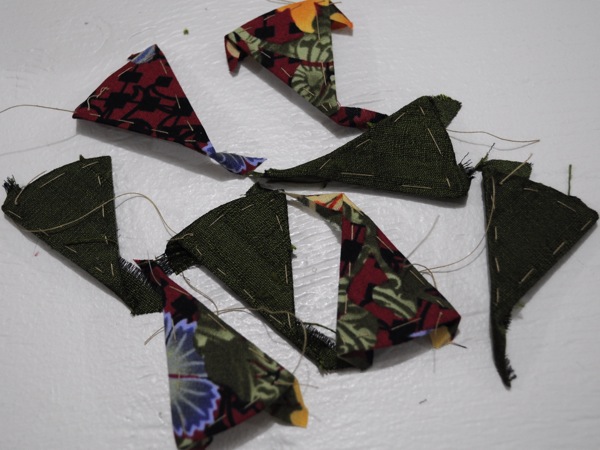
with super sharp and pointy scissors cut all of your basting threads and remove them.
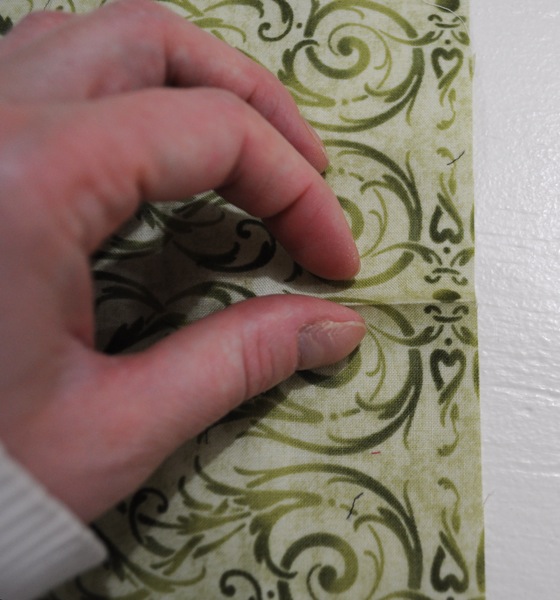
press edges firmly with iron so they are nice and crisp before removing the papers from the back side

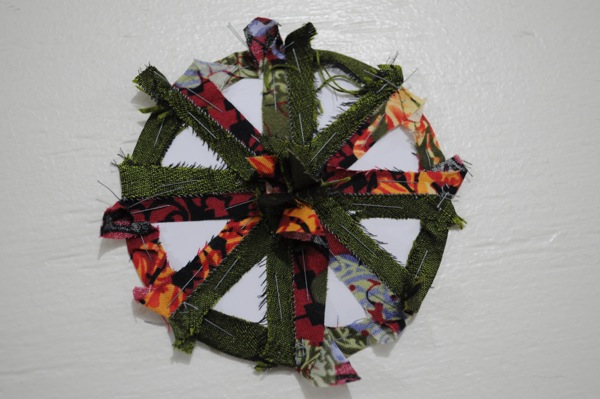
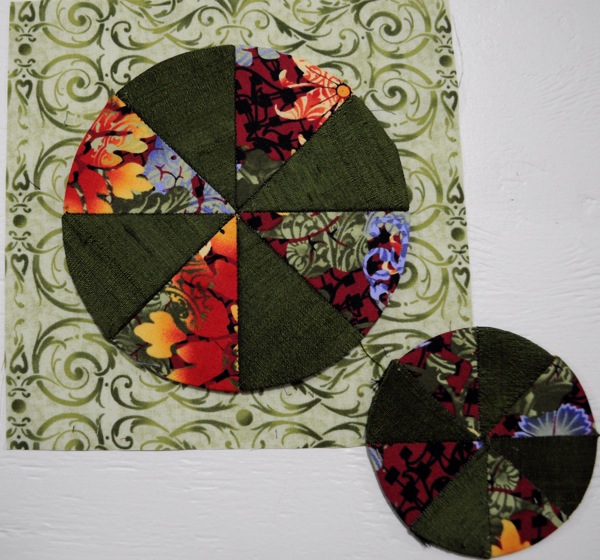
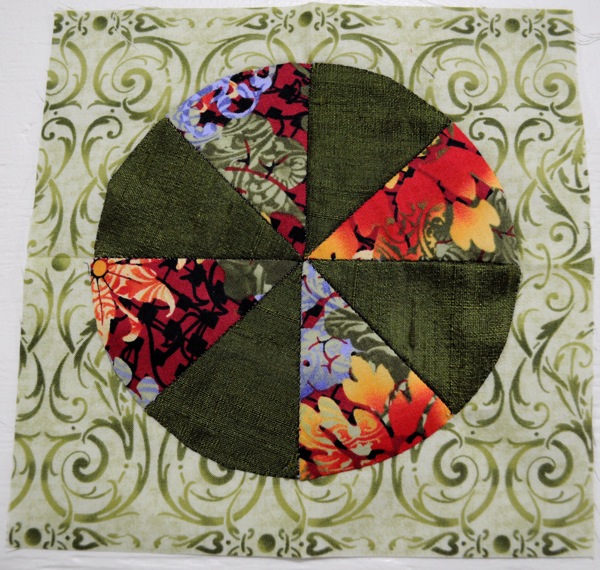
Mark the centers on your background square, then place your pie onto your background center position, pin in place.
pin in place, then stitch with an invisible slip stitch by hand or by machine with a hidden stitch and neutral thread.

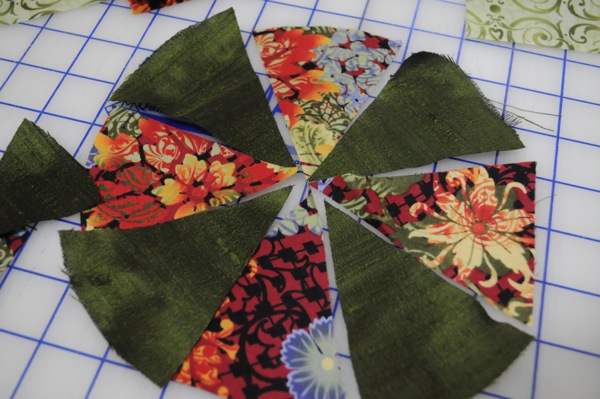
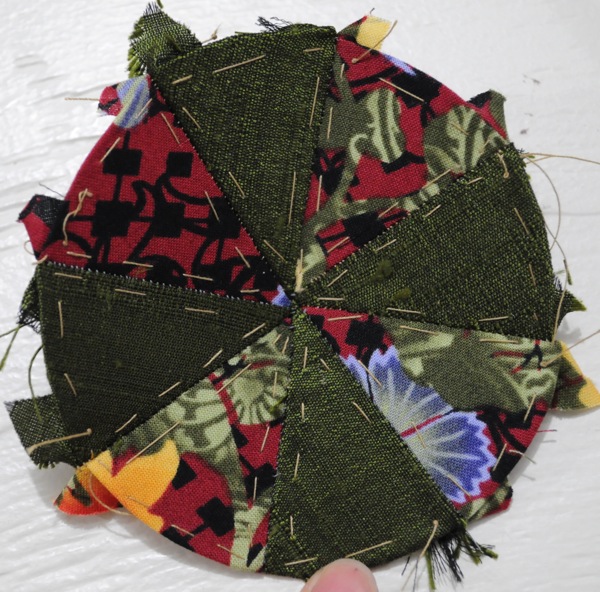
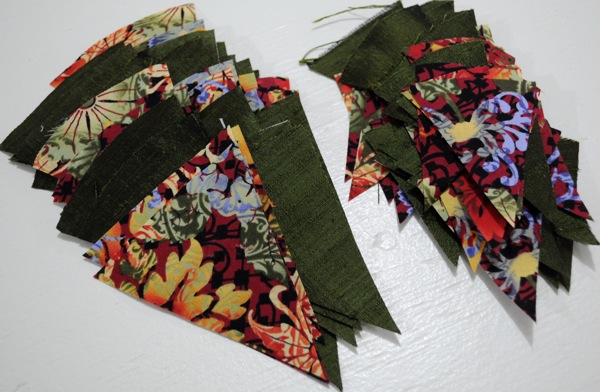
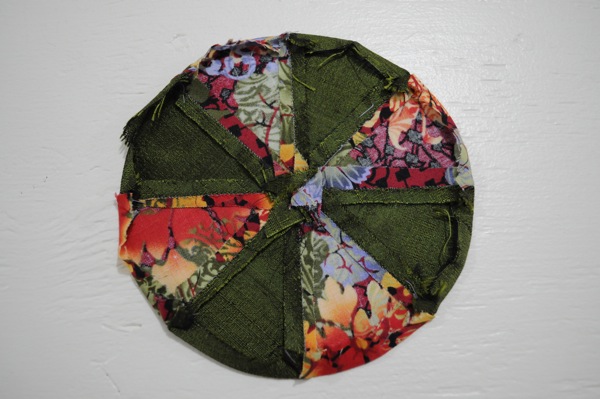
The tarts we will leave these with papers still in them as they go onto the quilt after it’s finished. Some of the tarts will be quarters, some will be halves and some will be full circle tarts…
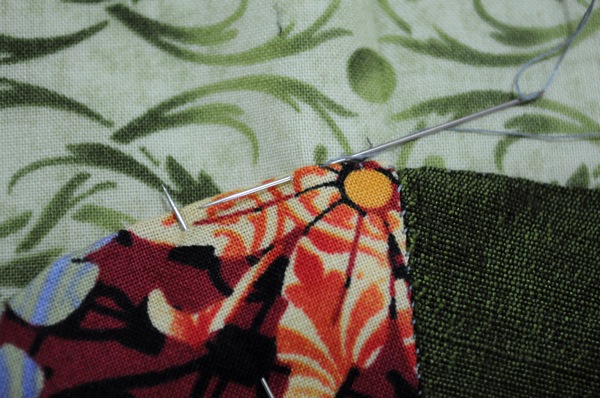
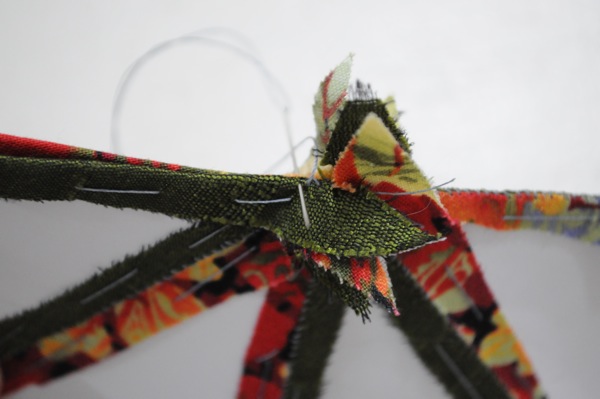
Isobel, look at these image showing the tale showing on the bottom point of the triangle templates – try it this way instead of tucking it in.This will give you more fabric to cover up your center…let me know how this works for you:)