Prepping for Completion, Borders
Oct-2010
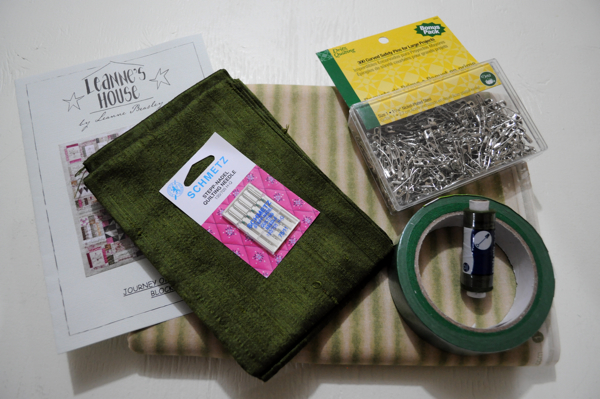
For the finishing kits, I’ve decided to add a few more things into them (no additional cost to you lovely ladies) that I’m sure you’ll love and use 🙂
So you know about your backing, binding and hanging sleeve, your 2 silk quarters for the borders including fuse and now…
Tape for layering
Pins for basting
Thread for piecing your borders and whatever else you want o use it for as it’s an exact match to your silk 🙂
Sewing machine needs for the Quilting….
You should be all set !!
If you haven’t watched the most recent videos please do so because I brief you on the beginning of this post.
***very important, I’ve changed the width of the strips for the borders. cut them 3″ instead of 3.5″***
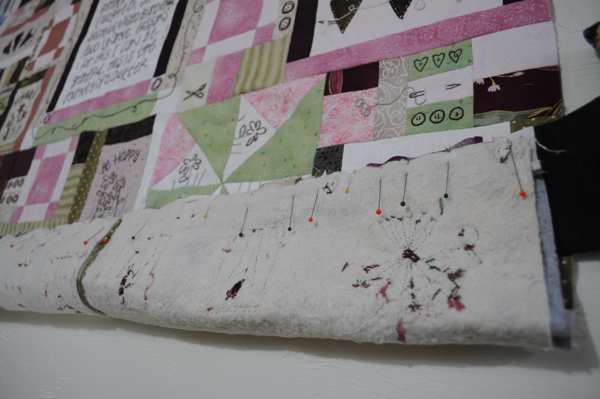
Okay after you square up your batting 1/4 all the way around from the font, mark your batting from the back in 1/2″ this way it will be in the 1/4″ we need for the seam allowance
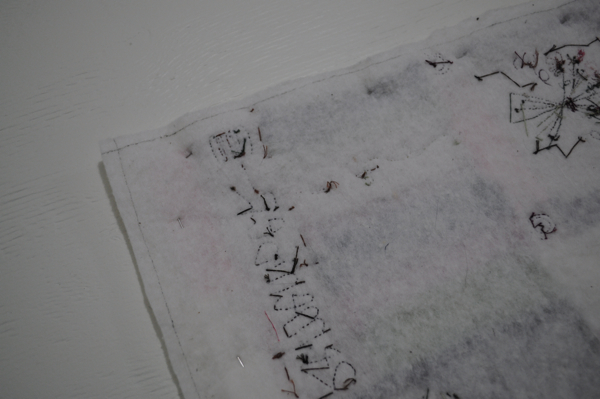
Pin in the front of each block so you don’t cut into it…be very careful here ladies, now is not the time to rush 🙂
then trim according to the line on the back of your piece, take your time.
if you come upon something that is a bit in the way, just carefully cut around it like this button embroidery of mine..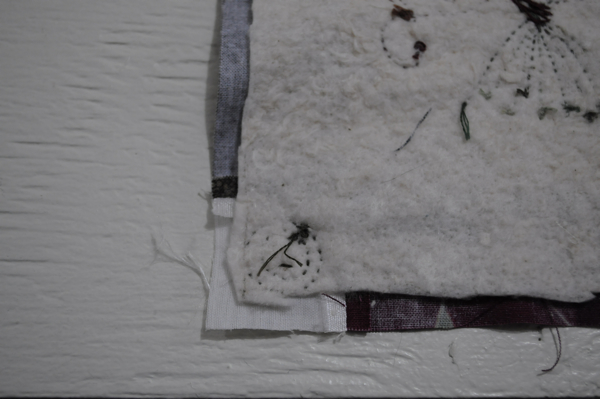
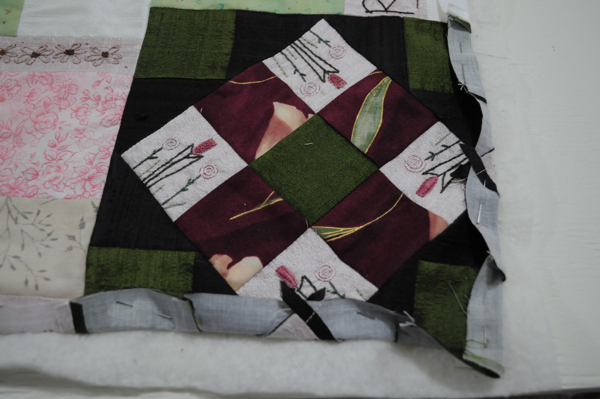
sew your rows together, pressing your seam allowance open
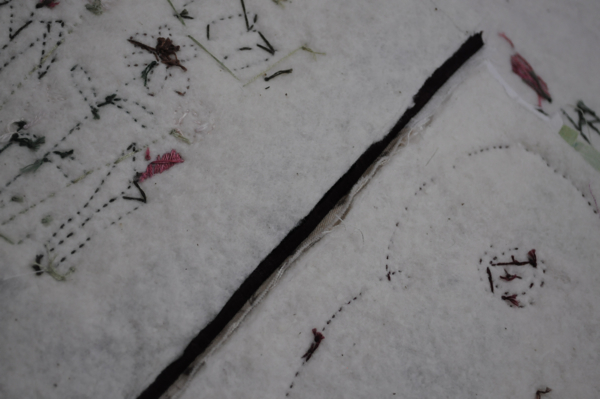
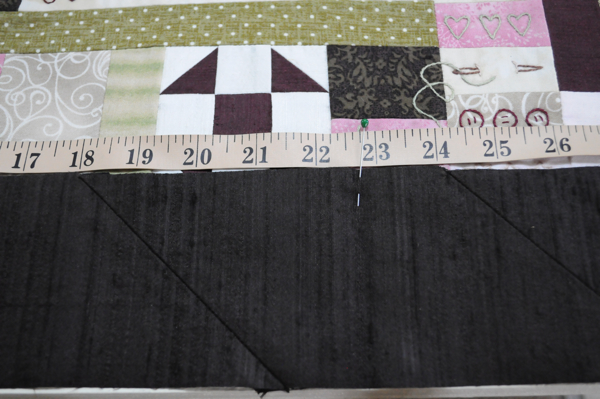
Measuring your quilt to make sure it’s square. This is very important becuase each of us has a slightly different seam allowance or way of sewing our blocks together. So if the pattern says the your 9 blocks should measure 45 1/2″ square, you know that you should be close to this measurement.
You measure 3 times, 6″ down from the top, across the whole top, middle across the whole top, and 6″ up from the bottom across the whole top then take the average. When measuring, make sure the top is is very flat and without wrinkles. This is the dimension of your top.
Now onto borders…prep your silk quarters with the fuse for the back.
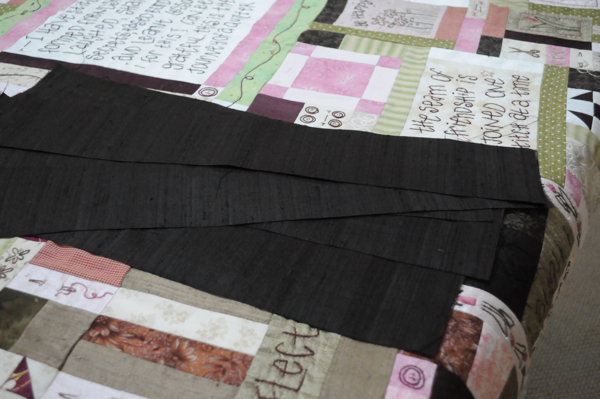
You are cutting these 3″x19.5″ strips, unless you want your grain going lengthwise then cut your strips 3″x27″ for my example I’ve cut them the first dimension.
You will need 4 strips for one side. 19″ x 4 strips = 76″ – 18″ (is what’s taken up when you connect the 4 strips together on the diagonal) = 58″ you will need 52″ (45.5″ + 6 (extra for mitering at the corners) but leave it at the 58 so you have some extra when doing the mitering.
When connecting strips, you should always connect on the diagonal because with a straight up and down line you eye will see this, if you connect on the diagonal your eye won’t tend to look directly at it as it’s more subtle. I use a Clover Chalk pencil with the roller on the end for marking, just preference, you can use pencil or whatever will show for you.
I always connect strips in the same direction. Right side facing up, on my left hand side, add the extra strip on the right with the right side of the fabric facing down.
I do this the same when when I connect any strips together regardless of the width of the strip, borders, bindings always the same way. If you don’t do it always in the same direction, you will notice it so much because one diagonal will go one way and another will go the opposite way. One thing with quilting is you need to find your rhythm. The way that makes sense to you so that way you will become an expert at the technique.
Sew across, make sure your needle position is in the center and not set to 1/4″ seam allowance or just be conscious if it is when connecting these on the diagonal.
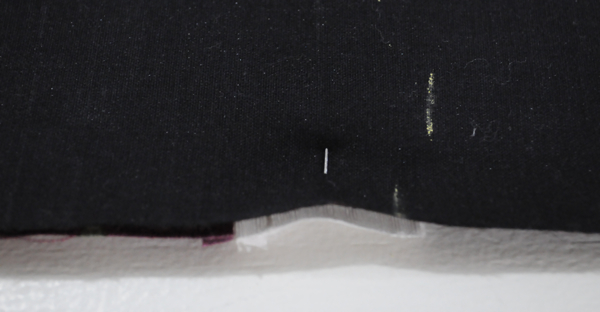
with scissors or a rotary cutter, remove the excess leaving 1/4″ seam allowance, press really well to set the seam, them press open.
Cut away the seam allowance
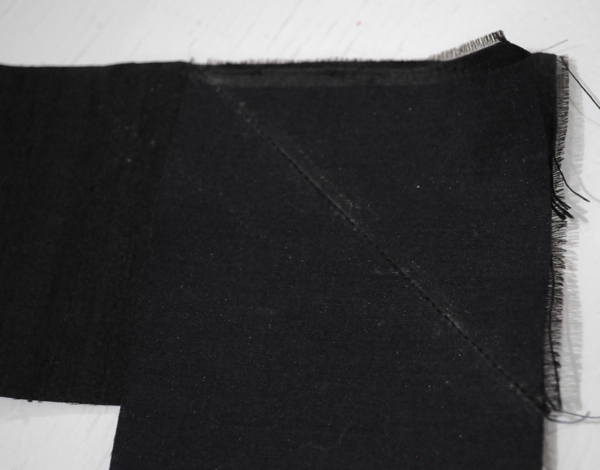
Here’s what your border strips will look like. Remember when I mentioned the direction of the seam is very important how you connect your strips because if they aren’t connected in the same way, the seams from the front will go in opposite directions…here’s the correct way when all the strips are connected in the same direction.
I’m going to show you how to do mitered borders, so the corners of your borders meet at a 45 degree angle instead of square. This quilt needs an amazing frame whether you hang it on the wall of lay it on a chair, trust me the results are fabulous!
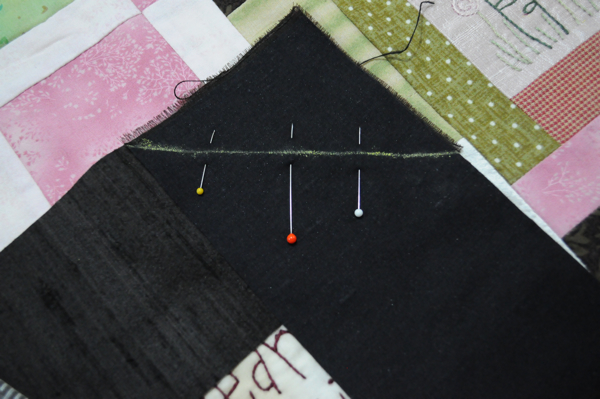
Finger press your quilt top in half, mark with a pin, this is your center.
Finger press your border fabric in half, mark with a pin, this is your center.
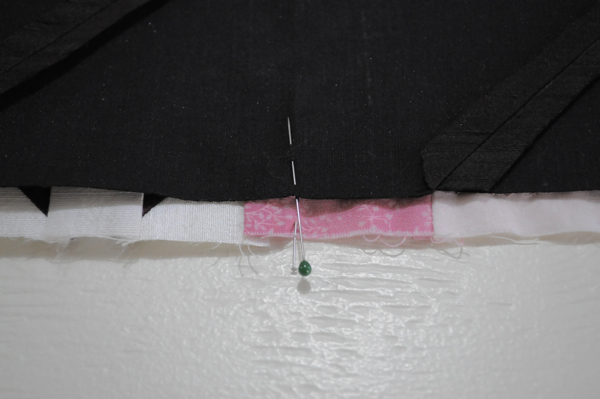
Start pinning from the center then towards the outside.
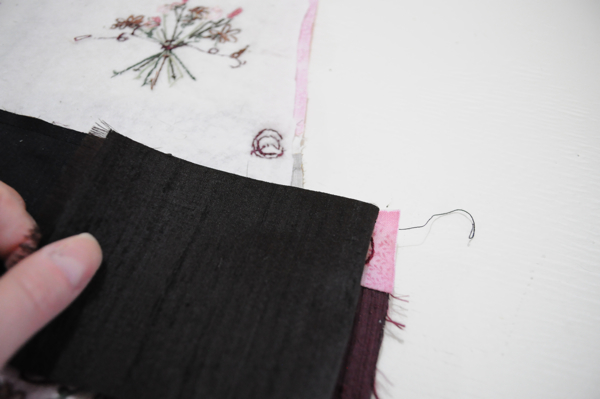
When you do mitered borders, you start sewing 1/4″ in from the end, be very exact here, then backstitch at that point, sew along full length, watching your seam allowances that they are nice and flat while sewing, stop 1/4″ in from the end, back stitch. You can mark this 1/4″ with a pencil, pin or whatever works for you to remember to stop and backstitch 1/4″ in.
Here’s what it will look like from the front.
repeat the same thing on all 4 sides.
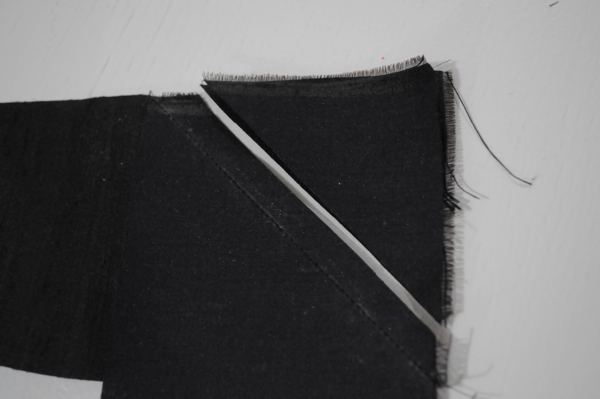
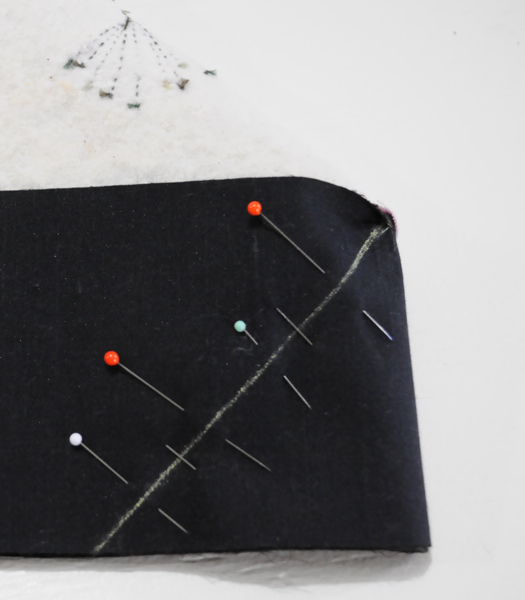
With right sides together at 90 degrees (top and side) you will match the borders, perfectly, pin in place to hold while you mark your diagonal, line your ruler up
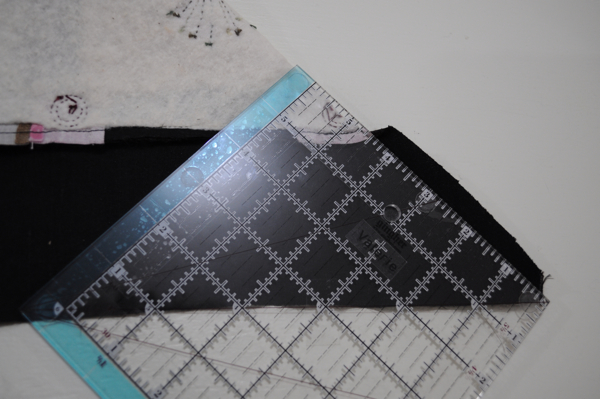
mark this say way from both sides, this will ensure you have the correct angle, you can pin from both sides also, if you put a pin through your line on one side it should be in the line from the other side.
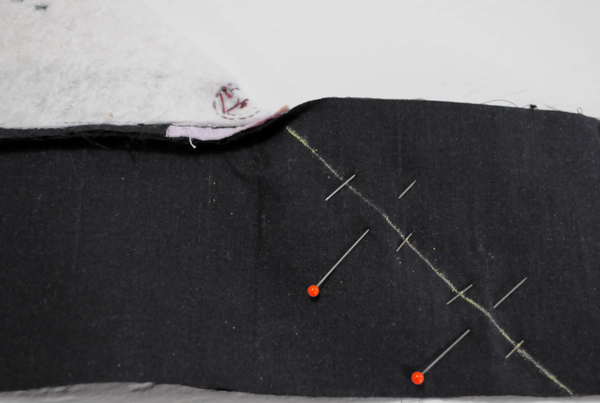
pin from both sides
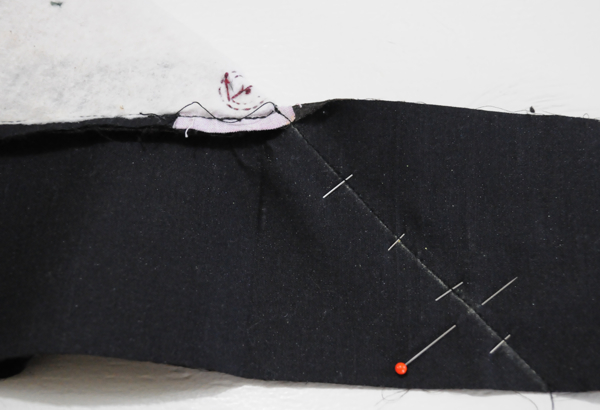
sew, starting at the edge of your stitching line from the border, backstitch, sew to edge, backstitch, break thread. Trim so your seam allowance is 1/4″
Here’s the front…Did you try this, are you happy with how it turned out?
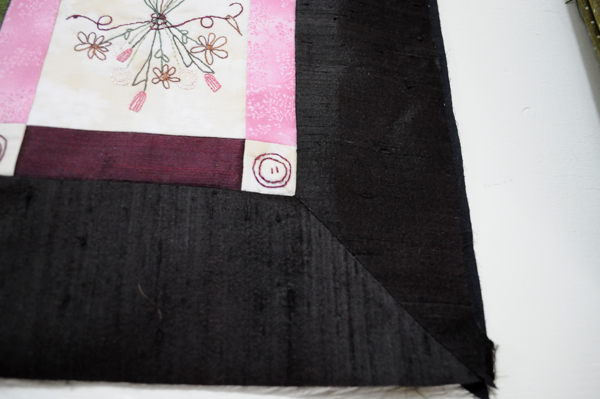
and from the back

Any Questions?
You will need to cut border batting to add under your border area, pin in place from the top for when you do your layering. TOP DONE!!